🌿 Discover the Perfect Plants for Your Space! 🌿
Explore our handpicked collection of cycads, aloes, seeds, and more to transform your garden or landscape.
Choosing Your First Aloe
So, you’re ready to dive into the wonderful world of aloe? Excellent choice! These fascinating succulents are not only visually appealing but also incredibly versatile, known for their medicinal properties and air-purifying qualities. For beginners, the sheer variety of aloe plants can be a bit overwhelming. But fear not, selecting your first aloe doesn’t have to be a prickly affair. This guide will help you navigate the options and choose the perfect aloe companion for your home.
One of the first things to consider is your space and lifestyle. Do you have a sunny windowsill perfect for basking? Or are you looking for a low-maintenance indoor plants to brighten up a corner with indirect light? Some aloes, like the popular Aloe vera, thrive in bright, direct sunlight, while others, like Aloe aristata (Lace Aloe), prefer slightly shadier conditions. Considering your available light is crucial for your aloe’s happiness and health. Think about the size, too. Some aloes stay compact, while others can grow quite large. Choose a size that suits your space and aesthetic preferences.
Another factor to consider is your experience level. If you’re a true beginner, opting for an easy care variety is a smart move. Aloe vera, Aloe aristata, and Haworthia (although technically not an aloe, it’s a close relative with similar care requirements) are all excellent choices for beginners due to their resilience and adaptability. They can tolerate a bit of neglect and are forgiving of minor watering mishaps. As you gain confidence, you can branch out and explore more unique and challenging aloe varieties. Starting with a hardy and low-maintenance plant will set you up for success and foster a love for these incredible succulents.
Easy-Care Aloe Varieties
For beginners venturing into the world of succulents, certain aloe varieties stand out for their resilience and low-maintenance nature. These easy care champions are perfect for building confidence and fostering a love for these fascinating plants. A top contender is undoubtedly Aloe vera. Famous for its medicinal properties, this sun-loving aloe is remarkably adaptable and forgiving of occasional neglect. Its thick, fleshy leaves store water efficiently, making it tolerant of slightly drier conditions. Just provide it with a bright spot and well-draining soil, and watch it thrive.
Another excellent choice for beginners is the charming Aloe aristata, also known as Lace Aloe. This compact aloe features spiky leaves adorned with white bumps, giving it a unique, textured appearance. While it appreciates bright light, it can also tolerate slightly shadier conditions, making it a versatile choice for indoor plants. Like Aloe vera, it’s relatively drought-tolerant and prefers well-draining soil. If you’re looking for a smaller, visually interesting aloe, the Lace Aloe is a fantastic option.
While not technically an aloe, Haworthia deserves a mention due to its similar care requirements and appearance. These small, rosette-forming succulents are incredibly low-maintenance and come in a fascinating array of textures and colors. From the zebra-striped Haworthia attenuata to the translucent “windowed” varieties like Haworthia cooperi, there’s a Haworthia to suit every taste. They thrive in bright, indirect light and well-draining soil, making them ideal companions for beginner aloe enthusiasts.
These are just a few examples of the many easy-care aloe and aloe-like succulents available. Starting with one of these resilient varieties will provide a solid foundation for your succulent journey and inspire you to explore the wider world of these captivating plants.
Understanding Aloe Needs
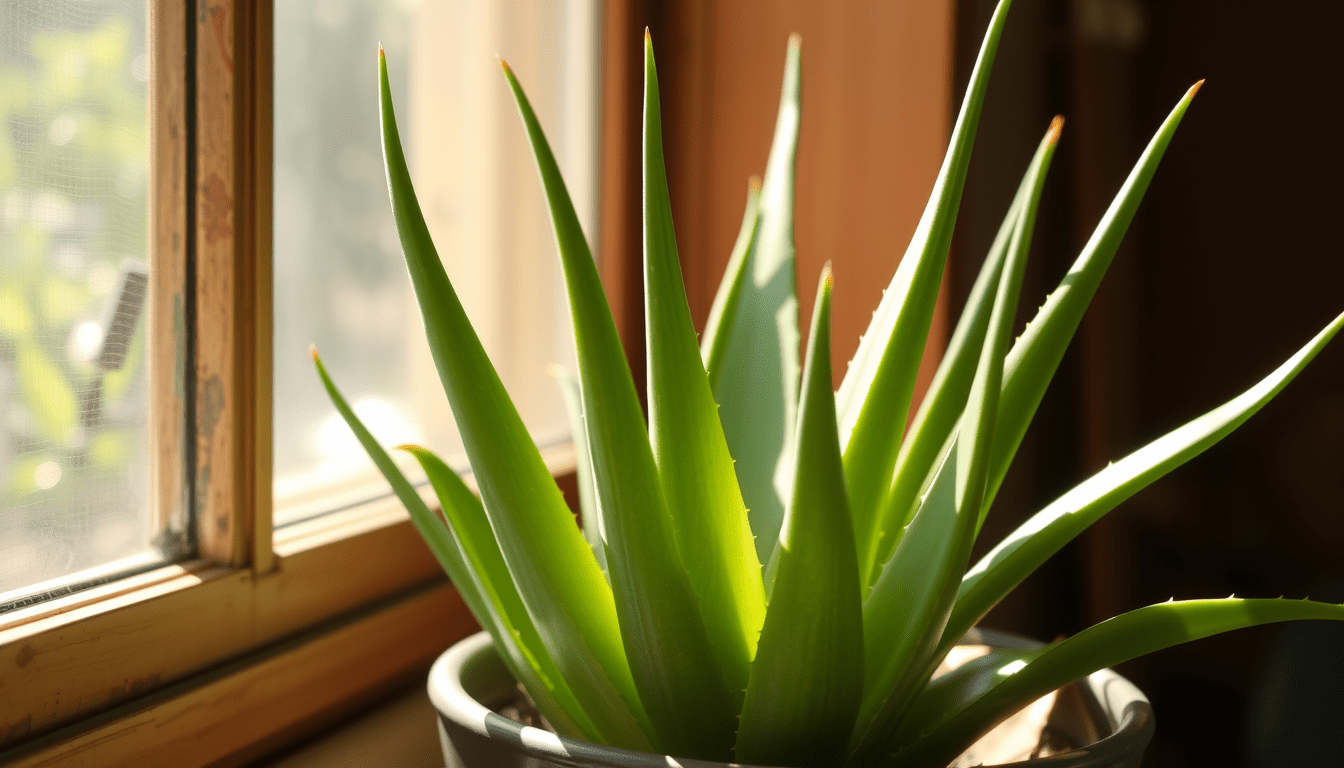
Aloes, like all plants, have specific needs that must be met to ensure their health and happiness. Understanding these needs is crucial, especially for beginners. One of the most important factors is light. Aloes are sun-loving succulents, originating from arid and semi-arid regions. They thrive in bright, direct sunlight, ideally 6-8 hours a day. A south-facing window is usually the best spot for indoor plants, but east- or west-facing windows can also work. Insufficient light can lead to etiolation, a condition where the plant stretches towards the light source, becoming weak and leggy.
Water is another critical factor, and it’s where many beginners stumble. Aloes are adapted to store water in their thick, fleshy leaves, making them drought-tolerant. Overwatering is a common mistake that can lead to root rot, a fatal condition. The key is to water deeply but infrequently, allowing the soil to dry out completely between waterings. The “soak and dry” method is highly recommended. Simply soak the soil thoroughly until water drains out of the drainage holes, then wait until the soil is completely dry before watering again. The frequency of watering will depend on factors like the size of the pot, the type of soil, and the ambient temperature.
Soil is equally important for healthy aloe growth. Aloes need well-draining soil that allows excess water to escape easily. Regular potting mix is too dense and retains too much moisture, leading to root rot. A specialized cactus and succulent mix is ideal, or you can create your own by amending regular potting mix with perlite, pumice, or coarse sand. These amendments improve drainage and aeration, creating a healthy environment for aloe roots to thrive. A slightly acidic to neutral pH (6.0-7.0) is optimal for most aloe varieties.
Finally, temperature plays a role in aloe well-being. While they love warm temperatures during the growing season (spring and summer), they can tolerate cooler temperatures in the winter. However, it’s important to protect them from frost, as freezing temperatures can damage or even kill the plant. Ideally, keep indoor aloes above 50°F (10°C) during the winter months. By providing the right balance of light, water, soil, and temperature, you can ensure your aloe thrives and brings you years of enjoyment.
Potting and Repotting
Potting your aloe correctly is crucial for its long-term health and happiness. Choosing the right pot is the first step. Beginners often make the mistake of using a pot that’s too large for their aloe. While it might seem logical to give the plant plenty of room to grow, a large pot can actually lead to problems. Excess soil retains more water, increasing the risk of overwatering and root rot. It’s best to choose a pot that’s only slightly larger than the root ball of your aloe, allowing for some growth but not too much extra space.
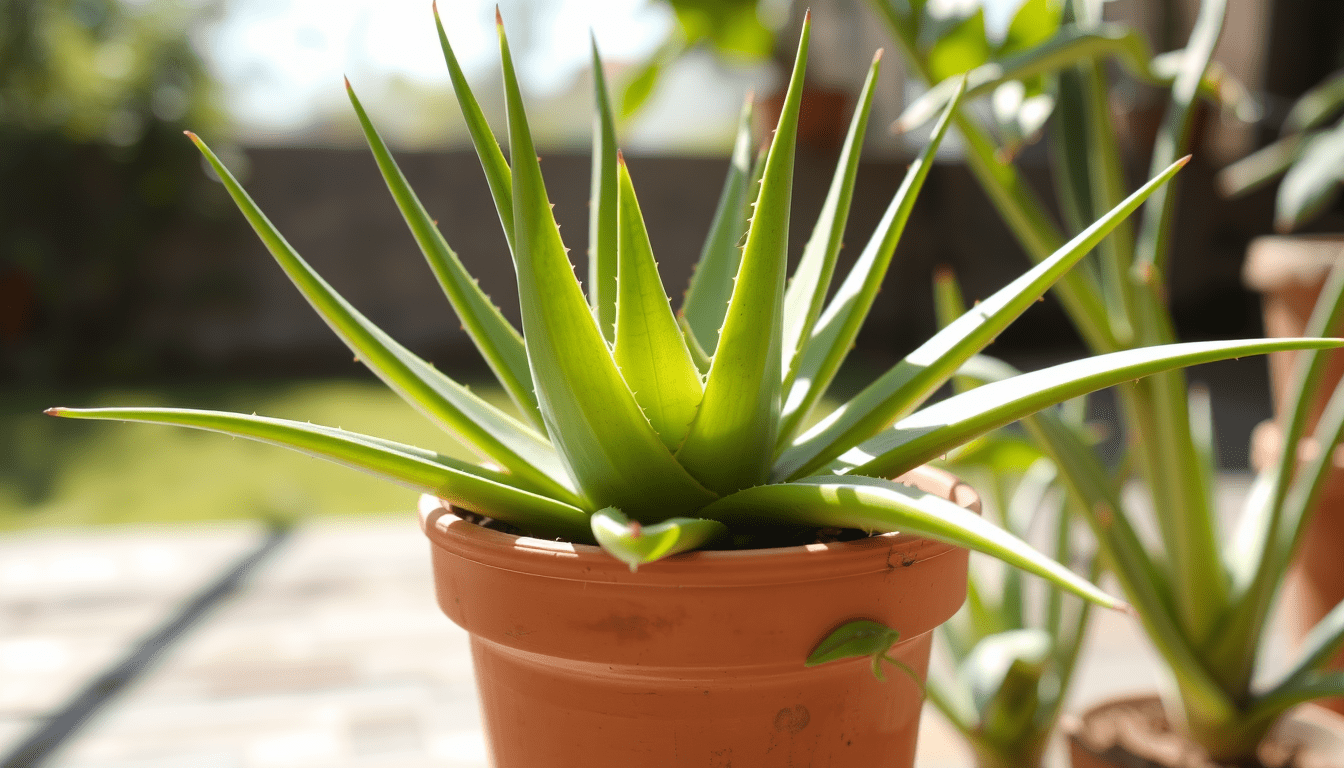
Drainage is paramount for succulents like aloe. Always choose a pot with drainage holes to allow excess water to escape. Terracotta pots are an excellent choice because they are porous and allow for better airflow, helping to prevent the soil from becoming waterlogged. Plastic pots can also be used, but be extra careful with watering, as they retain moisture more than terracotta. Regardless of the material, ensure adequate drainage to keep your aloe’s roots healthy and happy.
Repotting your aloe is usually necessary every 1-2 years, or when the plant becomes root-bound. Signs of a root-bound aloe include roots circling the bottom of the pot or growing out of the drainage holes. Spring is the ideal time to repot. Gently remove the aloe from its old pot, taking care not to damage the roots. If the roots are tightly bound, you can gently loosen them with your fingers. Place the aloe in the new pot with fresh, well-draining soil, ensuring the top of the root ball is level with the rim of the pot. Water thoroughly after repotting and allow the soil to dry out completely before watering again. With proper potting and repotting techniques, your indoor plants like aloe will thrive for years to come.
Watering and Fertilizing
Watering your aloe properly is crucial, especially for beginners. These succulents are masters of water conservation, storing it in their fleshy leaves, which makes them quite drought-tolerant. The most common mistake beginners make is overwatering, which can lead to root rot, a fatal condition for aloes. The golden rule is to water deeply but infrequently. Allow the soil to dry out completely between waterings. This “soak and dry” method ensures the roots get a good drink without sitting in soggy soil.
How often you water depends on several factors, including the size of the pot, the type of soil, the ambient temperature, and the specific aloe variety. A good rule of thumb is to check the soil moisture with your finger. Insert your finger about an inch deep into the soil. If it feels dry, it’s time to water. If it feels moist, wait a bit longer. During the growing season (spring and summer), you’ll likely need to water more frequently than during the dormant season (fall and winter). Indoor plants, like aloe, may require less frequent watering than those grown outdoors.
While aloes are relatively low-maintenance when it comes to fertilizing, they can benefit from occasional feeding during the growing season. Use a balanced, water-soluble fertilizer diluted to half strength. Fertilize once a month during the spring and summer months. Avoid fertilizing during the fall and winter, as the plant is not actively growing and excess fertilizer can build up in the soil, potentially harming the roots. Remember, less is more when it comes to fertilizing aloes. Over-fertilizing can lead to salt buildup in the soil, which can damage the plant.
Common Aloe Problems
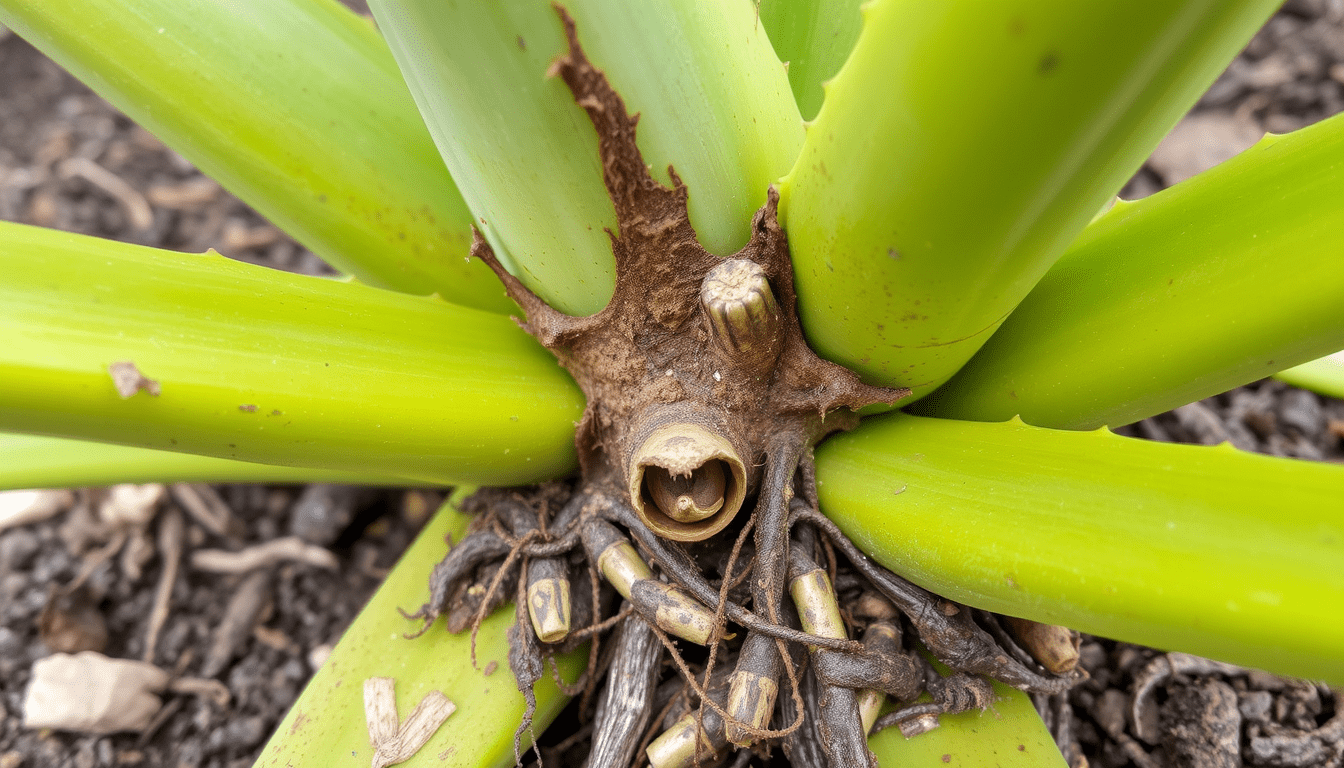
Even with the best care, aloe plants can sometimes encounter problems. For beginners, it’s helpful to be aware of these common issues and how to address them. One of the most frequent problems is root rot, often caused by overwatering. Succulents like aloe store water in their leaves, so they don’t need frequent watering. Overwatering creates a soggy environment where the roots can’t breathe, leading to decay. Signs of root rot include mushy, brown leaves, a foul odor emanating from the soil, and wilting despite moist soil. If you suspect root rot, repot your aloe immediately into fresh, well-draining soil, removing any affected roots.
Another common issue is sunburn, which can occur when an aloe is suddenly exposed to intense sunlight, especially indoor plants moved outdoors. Sunburn appears as brown or bleached patches on the leaves. While the damage is usually cosmetic, it can weaken the plant. To prevent sunburn, gradually acclimate your aloe to increased sunlight over several weeks. Start with an hour or two of direct sun and gradually increase the exposure time. If your aloe does get sunburned, move it to a shadier location and allow it to recover.
Pests can also be a nuisance, although they are usually not a major problem for aloes. Common pests include mealybugs, spider mites, and scale. Mealybugs appear as small, white, cottony masses on the leaves and stems. Spider mites are tiny and difficult to see with the naked eye, but their webbing is a telltale sign. Scale insects look like small, brown bumps on the leaves. To treat pests, you can wipe them off with a cotton swab dipped in rubbing alcohol or use a insecticidal soap. Regularly inspecting your aloe for pests can help prevent infestations.
Finally, easy care aloes can sometimes suffer from nutrient deficiencies, particularly if they are not fertilized regularly during the growing season. A lack of nutrients can manifest as slow growth, pale leaves, or a general lack of vigor. Using a balanced, water-soluble fertilizer diluted to half strength once a month during the spring and summer can help prevent nutrient deficiencies and keep your aloe healthy and thriving.
Propagating Your Aloe
Propagating your aloe is a rewarding way to expand your collection and share these amazing succulents with friends and family. For beginners, the easiest and most successful method is through aloe pups, also known as offsets. These are baby aloe plants that grow from the base of the mother plant. They are essentially clones of the parent, inheriting its characteristics. Look for pups that are a few inches tall and have developed their own root system. Gently separate them from the mother plant, ensuring each pup has some roots attached.
Once you’ve separated the pups, allow them to callus over for a few days. This helps prevent rot when they are planted. Plant the pups in small pots filled with well-draining cactus and succulent mix. Water lightly and place them in a bright, indirect light location. Avoid direct sunlight until the pups are established. Keep the soil slightly moist but not soggy, allowing it to dry out between waterings. With proper care, the pups will root and grow into healthy aloe plants.
Another propagation method, though slightly more challenging for beginners, is through leaf cuttings. Select a healthy leaf from the mother plant and cut it cleanly at the base using a sharp, sterilized knife. Allow the cut leaf to callus over for several days, just like with the pups. Once calloused, plant the leaf cutting in well-draining soil, burying about one-third of the leaf. Water sparingly and place it in a bright, indirect light location. It may take several weeks or even months for roots and new growth to appear. Be patient and avoid overwatering, as this can lead to rot.
Indoor plants like aloe can also be propagated from seed, but this method is generally slower and less reliable than using pups or leaf cuttings. If you choose to try propagating from seed, sow the seeds in a well-draining seed-starting mix and keep them consistently moist but not wet. Provide bright, indirect light and a warm temperature. Germination can take several weeks. Once the seedlings are large enough to handle, transplant them into individual pots. Regardless of your chosen method, propagating your easy care aloe is a fun and rewarding experience that allows you to expand your plant collection and enjoy the beauty of these versatile succulents.
🌿 Discover the Perfect Plants for Your Space! 🌿
Explore our handpicked collection of cycads, aloes, seeds, and more to transform your garden or landscape.


