🌿 Discover the Perfect Plants for Your Space! 🌿
Explore our handpicked collection of cycads, aloes, seeds, and more to transform your garden or landscape.
Choosing the right season for aloe planting
Timing plays a crucial role in the success of germinating aloe seeds. While aloe plants are known for their hardiness, sowing the seeds during the appropriate season gives them the best chance to thrive. As a rule of thumb, most experts recommend planting aloe seeds in the spring or early summer. These warmer months provide ideal temperatures and plenty of natural sunlight, which are key factors for encouraging seed sprouting and healthy initial growth.
Aloe vera is a sun-loving plant native to arid climates, so its seeds perform best in environments that mimic these natural conditions. During spring and summer, not only is the temperature more consistent, but the longer daylight hours also ensure that young seedlings receive adequate light exposure, which is essential to establish robust roots and prevent weak, spindly growth. Attempting to plant aloe seeds during colder months like fall or winter can lead to slow germination or even seed failure due to the lack of warmth and reduced sunlight.
For indoor growers, planting in the spring or summer is still preferable, even if you plan to use artificial grow lights. This timing aligns with the plant’s natural growth cycle, making it easier for your aloe to adapt and flourish. By choosing the optimal season, you set the stage for a productive and healthy aloe plant journey.
Preparing aloe seeds for sowing
Before you even think about dropping your aloe seeds into soil, it’s crucial to prepare them properly to ensure maximum germination success. Unlike mature aloe plants that have a near-supernatural ability to bounce back from neglect, aloe seeds require careful handling and optimal conditions to get off to a strong start. Think of this preparation phase as laying the foundation for a thriving plant—skipping steps here could result in disappointment later.
First and foremost, start by sourcing high-quality seeds. Aloe seeds are quite tiny, black or dark brown in color, and irregularly shaped, so it’s easy to confuse viable seeds with inferior ones. Purchasing your seeds from a trusted supplier ensures you’re getting fresh, high-germination-rate seeds. Once you have your seeds, store them in a cool, dark, and dry place if you’re not planting immediately. Exposure to excessive light or humidity can weaken their viability, reducing the likelihood of sprouting when planting day comes.
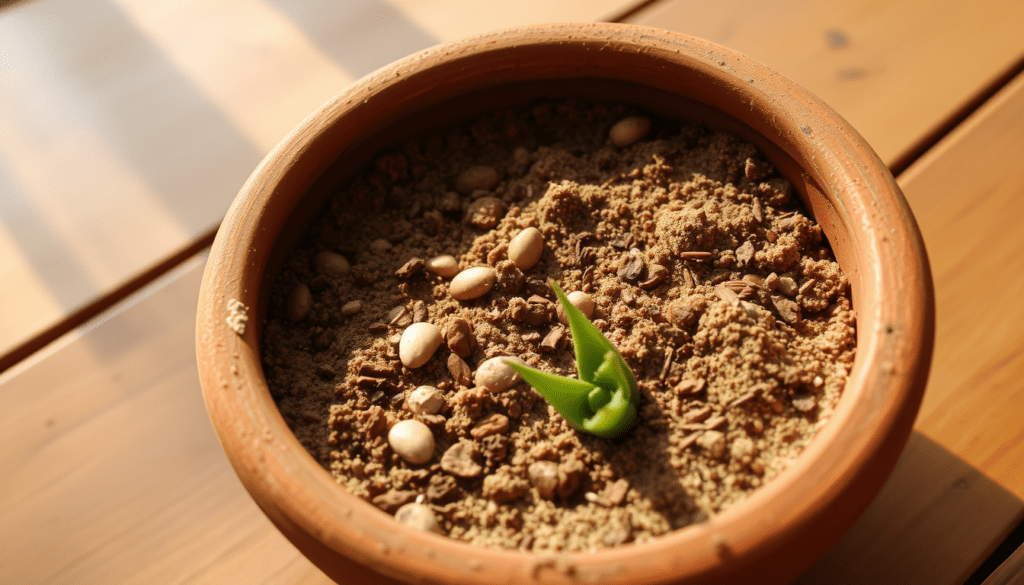
Next, you’ll want to soak your aloe seeds before planting. Why? Because soaking hydrates the seed husk, “waking them up” after their time in dormancy. It also softens the hard outer coating, making it easier for the embryonic plant to break through when germination begins. Simply place the seeds in a shallow bowl of lukewarm water for about 12-24 hours. Be sure to avoid soaking them too long, as extended exposure to water can lead to rot or fungal issues.
For those looking to give their aloe seeds an extra edge, consider treating them with a natural or store-bought fungicide after soaking. This step can help protect the seeds from mold and pathogens—especially useful if you live in a humid climate. Alternatively, some gardeners opt for using a diluted hydrogen peroxide solution during the soak, which serves a similar function while also aiding in sterilization.
Finally, once soaked, allow your aloe seeds to air dry briefly on a clean paper towel. Don’t let them dry out entirely—just remove excess surface moisture to make planting easier and reduce clumping when they come into contact with soil. With your seeds prepped and ready, you’re now prepared to move on to the next key steps of sowing and nurturing these sun-loving plants!
Selecting the ideal soil and container
The right combination of soil and container is a game-changer when it comes to successfully growing aloe seeds. While aloe plants are famously resilient as they mature, the early stages of development require an optimal environment to ensure healthy roots, well-drained growing conditions, and ample room for growth. Think of it as creating a cozy—but carefully controlled—home for your new green companions!
First and foremost, let’s talk soil. Aloe vera is a succulent, and like most succulents, its seeds thrive in loose, well-draining soil. A mixture that mimics the plant’s native arid environment will provide the best results. A good choice is a premade succulent or cactus potting mix, which is designed to prevent water retention that could cause root rot. Don’t have a mix on hand? You can create your own by combining equal parts of standard potting soil, sand (coarse-grained is ideal), and perlite or pumice. This blend provides the perfect balance between moisture retention and drainage for your fragile aloe seedlings.
Next, the container matters just as much as the soil. Choose a pot that allows water to drain freely—this is non-negotiable. Containers with drainage holes ensure excess water escapes, protecting your aloe seeds from sitting in soggy soil, which could lead to fungal growth or even drown the delicate roots. Avoid shallow or overly small pots, too; while your seeds don’t need a ton of space at first, giving them adequate room to spread out prevents overcrowding and allows for robust root development in their early growth stages.
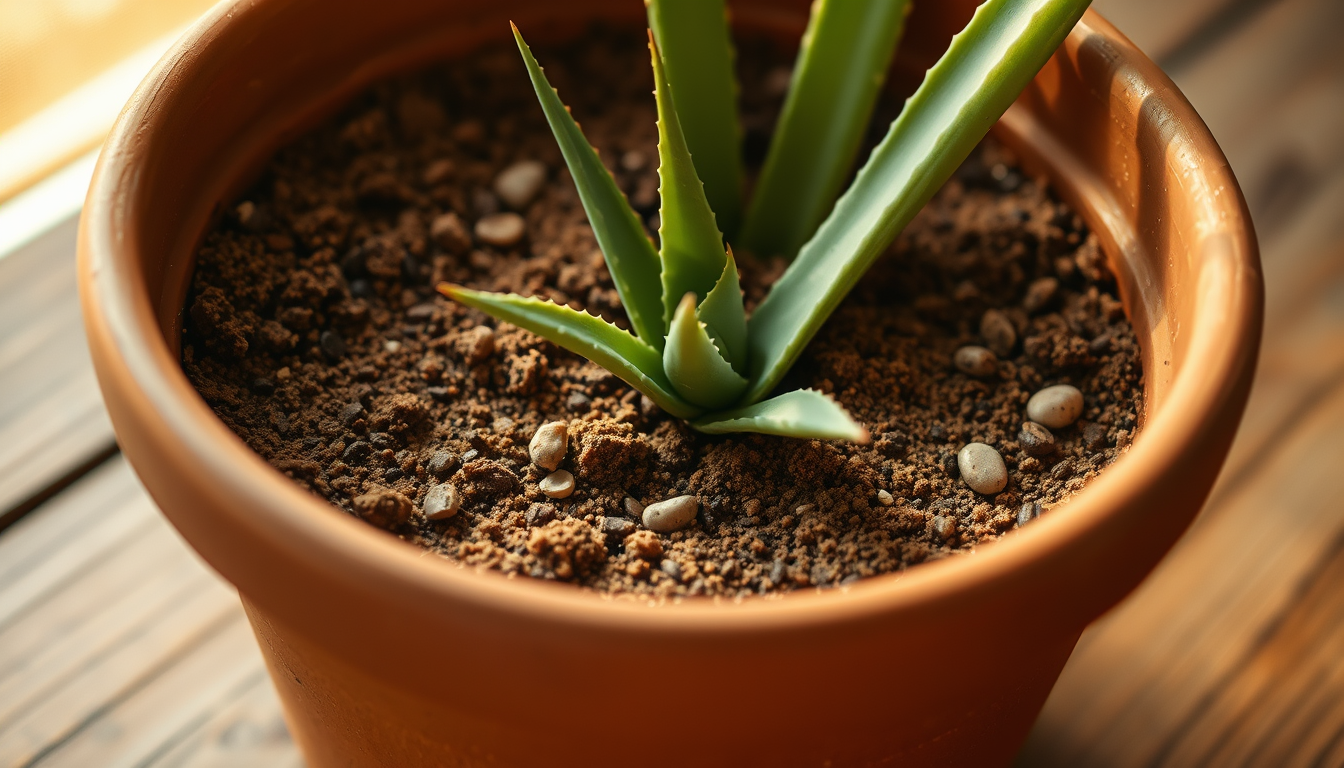
Material-wise, terracotta pots are an excellent option for cultivating aloe seedlings. These pots are naturally porous, allowing air and water to flow through the soil easily. However, if terracotta doesn’t suit your aesthetic or location, plastic containers can also work—just make sure they come with ample drainage and ensure you aren’t overwatering. If you’re feeling creative, look for shallow trays or seed-starting containers for planting multiple seeds at once, keeping each evenly spaced to maximize airflow and prevent competition for resources.
Once you’ve selected your pot and soil, there’s one final tip to keep in mind: Consider placing a thin layer of small pebbles or gravel at the bottom of your container before adding soil. This additional drainage layer acts as insurance against waterlogging, setting the stage for a healthy and stable environment for your aloe seedlings from day one.
Ensuring proper watering and sunlight
When it comes to nurturing aloe seedlings, two critical factors make all the difference: watering and sunlight. While mature aloe plants are renowned for their drought-tolerant nature, young seedlings require a more nuanced approach. Getting the balance right will set your plants on the path to thriving growth, while a misstep could lead to stunted development—or worse.
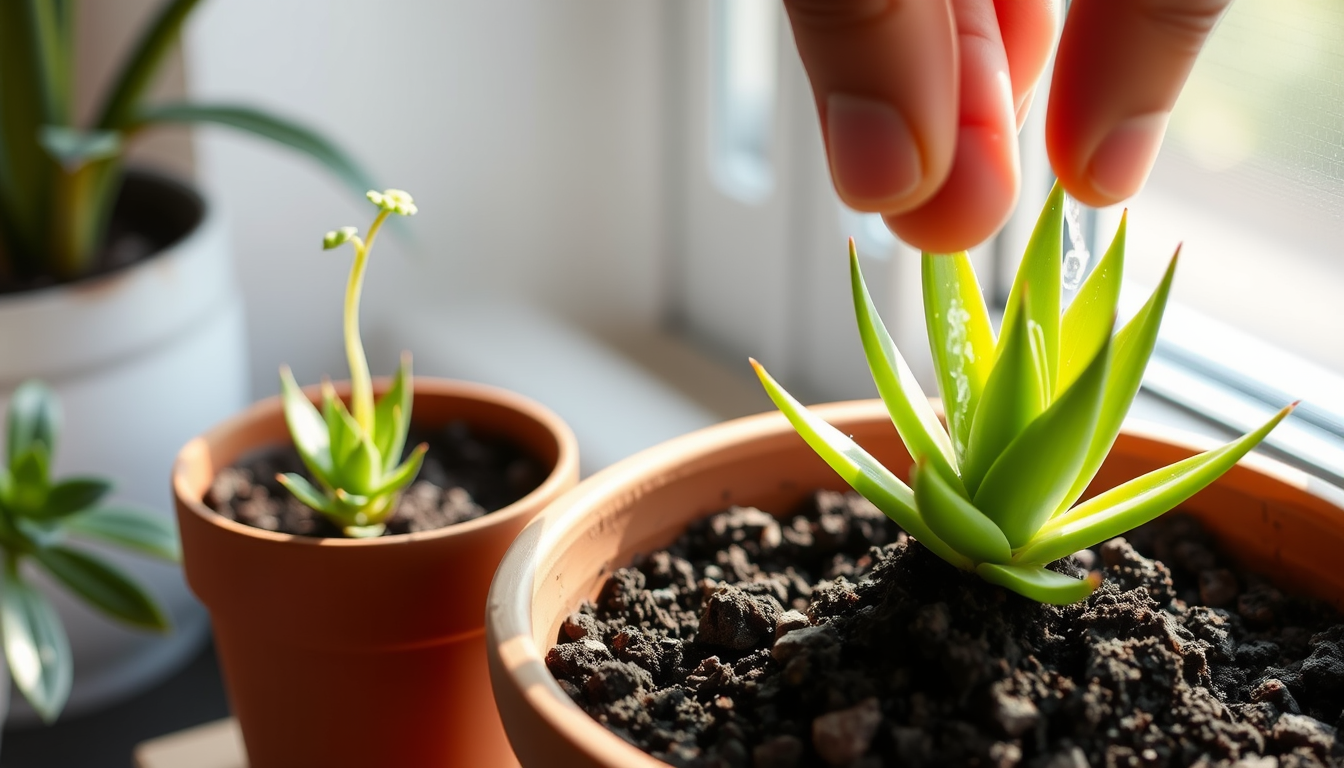
Let’s tackle watering first. New aloe seeds and seedlings need slightly moist—but never soggy—soil to promote healthy germination and root development. Start by lightly misting the soil with water using a spray bottle rather than pouring water directly onto it. This ensures the seeds stay evenly hydrated without becoming waterlogged. Overwatering is one of the most common killers of aloe seedlings, so always err on the side of caution. Allow the top layer of soil to dry slightly before reapplying water. Once the root system strengthens, you can reduce watering frequency, as mature plants prefer drier conditions overall.
Now, let’s talk about sunlight. Aloes are sun worshipers, but tender seedlings can be surprisingly sensitive to direct rays when they’re just starting out. Indirect, bright light works best during the early stages of growth. A sunny windowsill shielded with a thin curtain is an excellent option if you’re growing indoors. For outdoor growers, consider placing containers in a shaded area that still gets plenty of indirect light. Gradually introduce stronger sunlight as the seedlings grow sturdier, preventing stress or “sunburn,” which can manifest as brown or white patches on the foliage.
A great tip for optimizing light exposure is to rotate your container every few days. This prevents your seedlings from leaning toward the light source and encourages even growth. If your space lacks natural sunlight, consider using grow lights designed for succulents. Place the light about 6–12 inches above the seedlings and keep them on for 12–14 hours a day to mimic natural day lengths during the active growing season.
Finally, consider humidity. While aloe plants are native to arid environments, seedlings benefit from slightly higher humidity levels during their initial growth. You can achieve this by loosely covering the container with clear plastic or using a mini greenhouse to create a warm, moist microclimate. Just ensure there’s airflow to prevent mold and check the moisture levels regularly.
Mastering watering and sunlight techniques for your aloe seedlings requires vigilance and patience, but the results are worth it. These small adjustments create the perfect environment for your plants to grow into strong, sun-loving beauties that are ready to thrive in their lifelong roles as resilient, low-maintenance companions.
Monitoring growth and transplanting
You’ve carefully planted your aloe seeds, nurtured them with the right amount of water, and provided ample sunlight—but your work doesn’t end there. Monitoring the growth of your aloe seedlings is a crucial part of ensuring their transition from tiny sprouts to mature, thriving plants. This phase involves close observation, gentle care, and eventually a strategic move to larger containers when the time comes for transplanting.
During the first few weeks, focus on keeping a daily or weekly eye on your seedlings’ progress. Aloe seedlings are slow growers, so don’t expect a sudden burst of leaves overnight. Instead, check for subtle signs of healthy development, such as small green shoots emerging and steady (albeit gradual) height increases. Keep an eye out for any irregular growth patterns—leggy or pale shoots might indicate insufficient light, while discoloration or wilting could signal overwatering or poor drainage. By addressing these issues early, you can guide your seedlings back on track before they experience lasting damage.
Once your seedlings have grown two to three sets of leaves—usually after about two to three months—it’s time to consider transplanting. Why is this step so important? As the roots expand, the initial container will likely run out of space, which can stunt the aloe’s growth. Transplanting allows the plant to spread its roots freely and absorb more nutrients, setting the stage for long-term development. But timing is everything—making the move too early can stress the plant, while waiting too long can result in root binding, where the roots coil tightly in a small space and struggle to grow further.
When you’re ready to transplant, select a pot that is one size larger than the current container. Ideally, use a terracotta or clay pot with ample drainage holes to maintain a dry and airy soil environment. Fill the new container with a fresh batch of well-draining cactus or succulent soil, similar to what you originally used when sowing the seeds. Gently loosen the soil around the base of each seedling with your fingers or a small tool, taking care not to damage the delicate roots as you lift the young plant from its original pot.
Transfer the seedling into its new home by creating a small hole in the soil and carefully placing the roots inside. Add soil around the plant and lightly pat it down to stabilize the seedling while ensuring the plant base sits slightly above the surrounding soil to prevent rot. Immediately after transplanting, give the soil a light misting of water to help the roots settle, but be cautious not to overwater at this stage. Your tiny aloe will need some time to adjust to its new surroundings, so place it in a spot with bright but indirect light, gradually reintroducing it to more sun over the coming weeks.
Regular monitoring following the transplant is just as important. Look for signs of successful adaptation, such as new leaf growth or roots beginning to anchor firmly in the fresh soil. If your aloe seedling starts to lean, this may mean it isn’t rooted deeply enough, and you may need to reposition it in the soil. On the other hand, if the leaves show discoloration or soft, mushy spots, this could indicate overwatering post-transplant.
“Growing aloe from seed requires patience, but observing a tiny seed transform into a thriving plant is an incredibly rewarding experience.”
By keeping a close watch on the growth process and carefully managing each transplant, you’re ensuring your aloe plants will live a long, healthy life. These practices not only result in robust, flourishing plants but also deepen your connection to the life cycle of one of nature’s most resilient succulents.
🌿 Discover the Perfect Plants for Your Space! 🌿
Explore our handpicked collection of cycads, aloes, seeds, and more to transform your garden or landscape.


