🌿 Discover the Perfect Plants for Your Space! 🌿
Explore our handpicked collection of cycads, aloes, seeds, and more to transform your garden or landscape.
Seed anatomy and dormancy
Let’s dive into the fascinating world of aloe seeds. These tiny vessels of life hold the potential for a whole new aloe plant, but understanding their structure and the mystery of dormancy is key to successful germination techniques. An aloe seed is typically small, black, and flattened, often with a papery wing that aids in wind dispersal. The seed coat, or testa, protects the embryo and endosperm within. The embryo is the miniature plant waiting to sprout, while the endosperm provides the initial food reserves it needs to get started. This intricate design is nature’s way of ensuring survival and propagation.
Now, the intriguing part: dormancy. Many aloe seeds exhibit a form of dormancy, meaning they won’t germinate immediately even under seemingly ideal conditions. This is a clever evolutionary strategy that prevents all seeds from sprouting at once, increasing the chances of survival in fluctuating environments. Think of it as a safeguard against unfavorable conditions like drought or extreme temperatures. The dormancy period can vary between aloe species and can be influenced by factors such as seed maturity and storage conditions. Breaking this dormancy is a crucial step in successful aloe propagation from seed, and understanding the specific methods employed can significantly improve your germination rates. It’s like unlocking a secret code to awaken the sleeping potential within these tiny seeds.
One common factor contributing to aloe seed dormancy is the presence of chemical inhibitors within the seed coat or the embryo itself. These inhibitors prevent germination until they are leached out or broken down by environmental cues like water or temperature fluctuations. Another factor is the hard seed coat, which can physically restrict water absorption and embryo expansion. In some cases, a combination of these factors contributes to the dormancy period. By understanding the specific type of dormancy present in your chosen aloe species, you can tailor your germination techniques to maximize success.
Preparing aloe seeds for germination
So, you’ve got your aloe seeds, and you’re ready to embark on the journey of germination. But before you sow them, a little preparation can go a long way in boosting your success rate. Think of it like giving your seeds a head start in life. One common technique is seed pre-treatment, which aims to break the seed’s dormancy and encourage faster and more uniform germination. There are several methods you can employ, each with its own advantages.
Soaking is a simple yet effective method. Simply place your aloe seeds in a bowl of lukewarm water for 12-24 hours. This helps to soften the seed coat and leach out any germination inhibitors, paving the way for quicker sprouting. Another method is stratification, which mimics the natural chilling period some seeds require. This involves placing the seeds in a moist medium (like vermiculite or sand) and refrigerating them for a few weeks. Stratification is particularly useful for aloe species from colder climates. For species with particularly hard seed coats, scarification can be beneficial. This involves gently nicking or rubbing the seed coat with sandpaper or a file to create a small opening. This allows water to penetrate more easily, triggering the germination process. Choose the method that best suits your chosen aloe species and the type of dormancy it exhibits.
Once you’ve pre-treated your aloe seeds, it’s time to think about a pre-sowing soak. This involves soaking the seeds in a solution that can further enhance germination. A diluted solution of hydrogen peroxide (3%) can help to sterilize the seeds and reduce the risk of fungal infections. Alternatively, a weak solution of gibberellic acid (GA3), a plant hormone, can stimulate germination and improve seedling vigor. While not essential, a pre-sowing soak can provide an extra boost and contribute to healthier seedlings. Remember to follow the instructions carefully when using GA3, as the concentration can vary depending on the aloe species.
Sowing and substrate choices
Now that your aloe seeds are primed and ready, let’s talk about sowing and the all-important substrate. Choosing the right growing medium is crucial for successful germination and early seedling development. Think of it as providing the perfect cradle for your future aloe plants. A well-draining substrate is essential to prevent waterlogging, which can lead to fungal diseases and root rot. Aloe seeds, like the mature plants, prefer a slightly acidic to neutral pH (around 6.0-7.0). You have several options when it comes to choosing a suitable substrate.
A popular choice is a mix of perlite and vermiculite. Perlite, those white, lightweight granules, provides excellent drainage and aeration, while vermiculite helps to retain some moisture. Another option is a seed-starting mix, which is specifically formulated for optimal germination. These mixes often contain a blend of peat moss, perlite, and vermiculite, providing a balanced environment for delicate seedlings. You can also create your own mix using a combination of potting soil, sand, and perlite. The key is to ensure good drainage while retaining enough moisture to support germination.
When sowing your aloe seeds, scatter them evenly over the surface of the moistened substrate. Don’t bury them too deep; a light covering of the substrate or even just pressing them gently into the surface is sufficient. Aloe seeds require light to germinate, so avoid burying them too deep. You can use a shallow tray or pot for sowing. Once sown, cover the container with a clear plastic lid or wrap to create a humid environment. This helps to retain moisture and promote germination. Place the container in a warm, bright location, but avoid direct sunlight, which can scorch the delicate seedlings. Now comes the waiting game, but with the right techniques and a little patience, you’ll soon see those tiny aloe seedlings emerge, ready to embark on their journey to becoming majestic succulents.
Germination environment and care
Creating the ideal environment for your aloe seeds to germinate is like setting the stage for a grand performance. You’ve chosen your seeds, prepared them with care, and selected the perfect substrate. Now, it’s time to fine-tune the environmental factors that will encourage those tiny seeds to burst forth with life. Think of yourself as a conductor, orchestrating the perfect balance of light, temperature, and humidity.
Aloe seeds, like most succulents, thrive in warmth. A temperature range of 70-80°F (21-27°C) is ideal for germination. Maintaining consistent warmth is key, so consider using a heat mat or placing the seed tray in a warm location. Avoid placing the tray in direct sunlight, as this can cause the substrate to dry out too quickly and overheat the seeds. Indirect bright light is perfect for germination. Think of a bright windowsill that doesn’t receive direct sunlight or a shaded area outdoors. Light is essential for germination, but too much direct sun can be detrimental in the early stages.
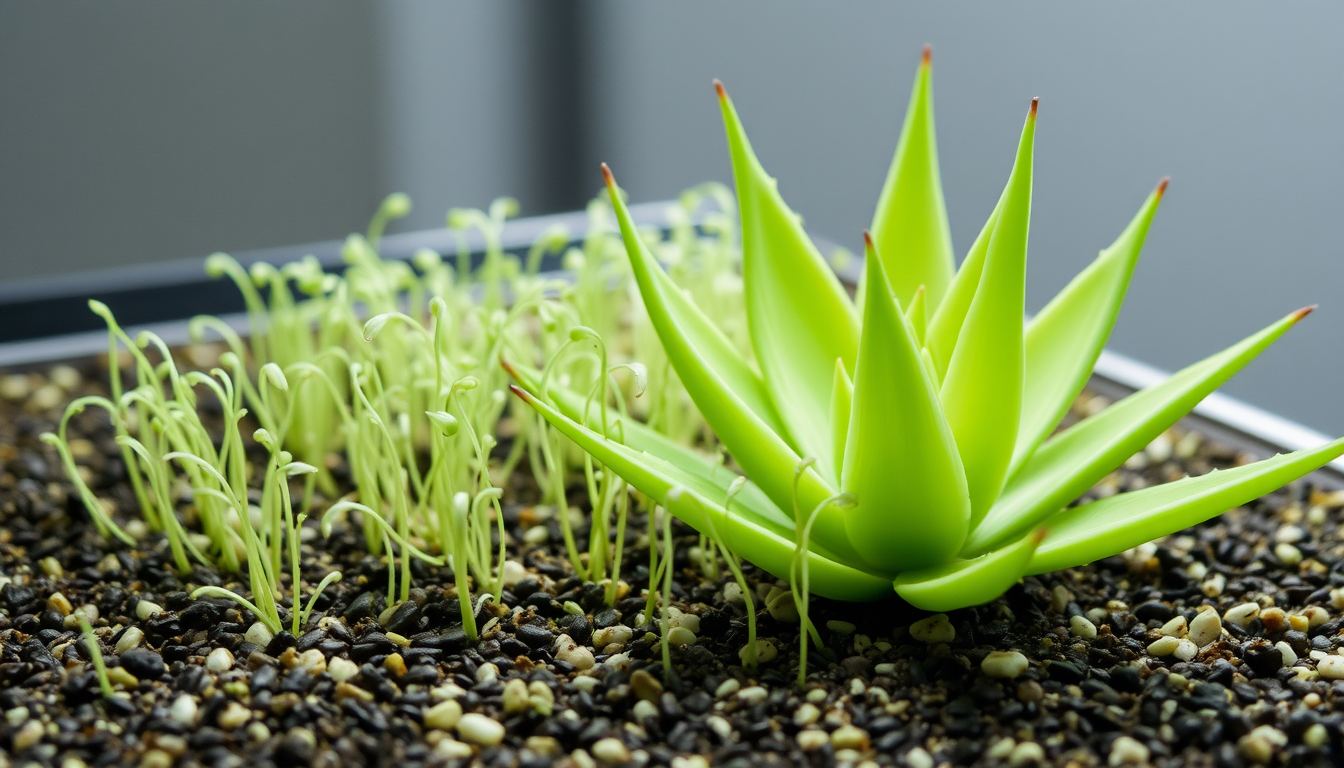
Humidity plays a crucial role in aloe seed germination. The covered seed tray or pot helps to create a humid microclimate, mimicking the natural conditions that trigger germination. Ensure the substrate remains consistently moist but not waterlogged. Misting the surface with a spray bottle can help maintain humidity without overwatering. Germination time varies depending on the aloe species, but you can typically expect to see sprouts within 1-4 weeks. Once the seedlings emerge, gradually reduce the humidity by removing the cover for short periods each day. This helps to acclimate the young plants to the drier air and prevent fungal diseases. Regularly monitor the moisture levels of the substrate and water when the surface feels dry to the touch. Avoid overwatering, as this can lead to root rot and other problems. With the right balance of light, temperature, and humidity, your aloe seedlings will thrive and embark on their journey to becoming healthy, mature plants. These simple techniques can significantly improve your germination rates and ensure healthy aloe seedlings.
Troubleshooting and seedling development
Even with the best germination techniques, you might encounter some bumps along the road. Don’t be discouraged! Understanding common issues and knowing how to address them is part of the learning process. Think of it as fine-tuning your aloe parenting skills. One common problem is slow or uneven germination. This can be due to several factors, such as inconsistent temperature, insufficient moisture, or even the age of the seeds. If your aloe seeds are taking longer than expected to germinate, double-check the environmental conditions. Ensure consistent warmth and humidity, and make sure the substrate is moist but not waterlogged. Sometimes, older seeds might have a lower germination rate, so using fresh seeds can improve your chances of success.
Another issue you might encounter is fungal growth. Aloe seedlings are susceptible to fungal diseases, especially in humid environments. If you notice fuzzy white or gray mold on the substrate or seedlings, it’s essential to address it promptly. Improve air circulation by removing the cover for longer periods each day. You can also apply a fungicide specifically designed for seedlings, following the instructions carefully. Prevention is always better than cure, so ensure good hygiene by using sterile substrate and containers. Sterilizing your tools and equipment can also help prevent the spread of fungal spores.
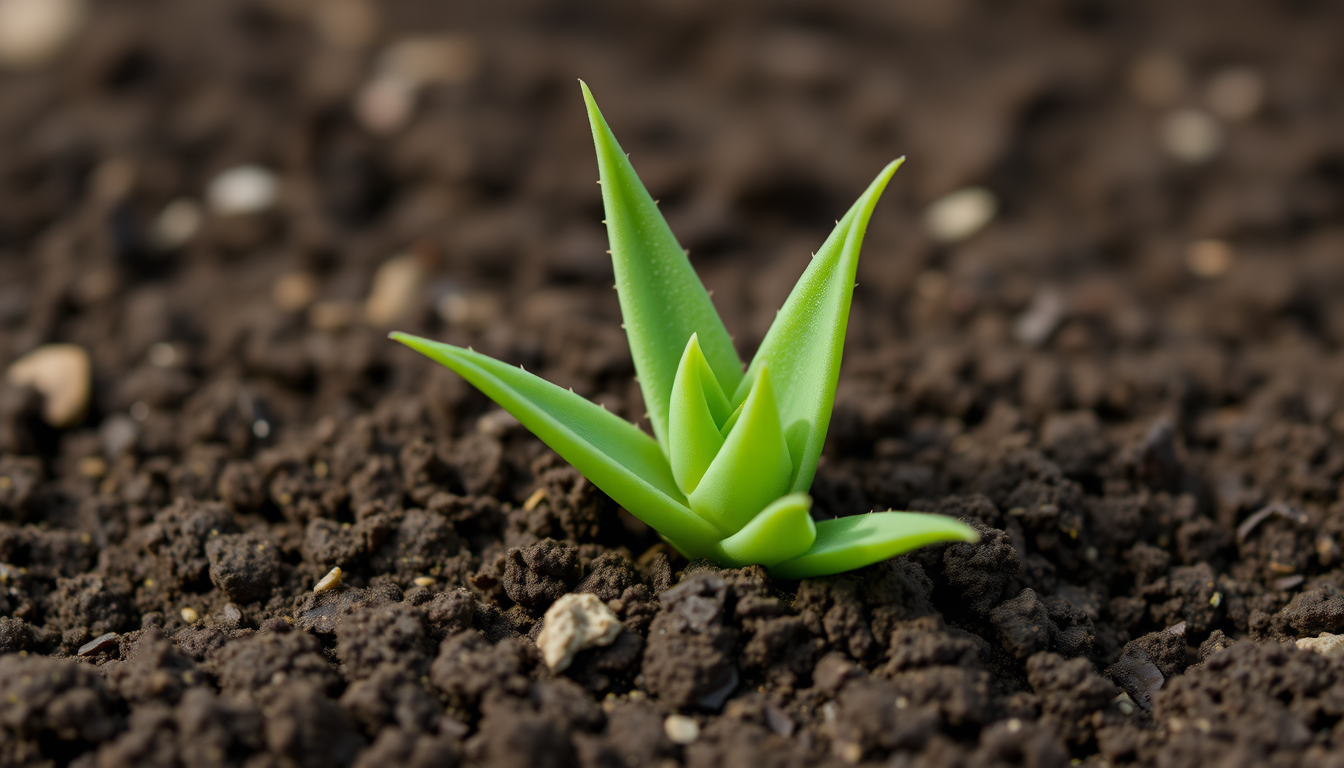
Once your aloe seedlings have emerged, the focus shifts to nurturing their development. Think of them as tiny adventurers embarking on their journey to adulthood. Provide adequate light, but avoid direct sunlight, which can scorch the delicate leaves. Water sparingly, allowing the substrate to dry slightly between waterings. Overwatering can lead to root rot, a common problem in aloe seedlings. As the seedlings grow, you can gradually increase the amount of light and water they receive. When the seedlings have developed a few true leaves, you can carefully transplant them into individual pots. Use a well-draining potting mix specifically formulated for succulents. With proper care and attention, your aloe seedlings will thrive and eventually mature into beautiful, robust plants, a testament to your successful germination methods and nurturing skills.
🌿 Discover the Perfect Plants for Your Space! 🌿
Explore our handpicked collection of cycads, aloes, seeds, and more to transform your garden or landscape.


