🌿 Discover the Perfect Plants for Your Space! 🌿
Explore our handpicked collection of cycads, aloes, seeds, and more to transform your garden or landscape.
Aloe vera, with its succulent leaves and healing properties, is a popular houseplant. But before you grab just any pot and plop your aloe in, consider this: aloes have specific needs that influence their happiness and health. Understanding these needs is the first step towards choosing the right aloe pots. Think of it as finding the perfect home for your spiky little friend.
One key factor is the material of the container. Different materials affect water retention and airflow to the roots. Terracotta, for example, is porous and allows excess water to evaporate, while plastic retains moisture. The size of the pot also matters. A pot that’s too small will restrict root growth, while one that’s too large can lead to overwatering and root rot. Finding that Goldilocks “just right” size is essential. And then there’s drainage. Aloe plants absolutely hate sitting in water, so adequate drainage holes are crucial to prevent soggy soil and unhappy roots. Choosing containers with good drainage is a must.
Think of your aloe’s native environment – arid, rocky terrains. They thrive in well-draining soil and plenty of sunlight. Mimicking these conditions in your home is the secret to a flourishing aloe. Choosing the right size and material for your aloe pots, combined with proper drainage, sets the stage for a healthy and happy plant. Remember, a thriving aloe isn’t just aesthetically pleasing; it’s also a readily available source of soothing gel for minor burns and skin irritations.
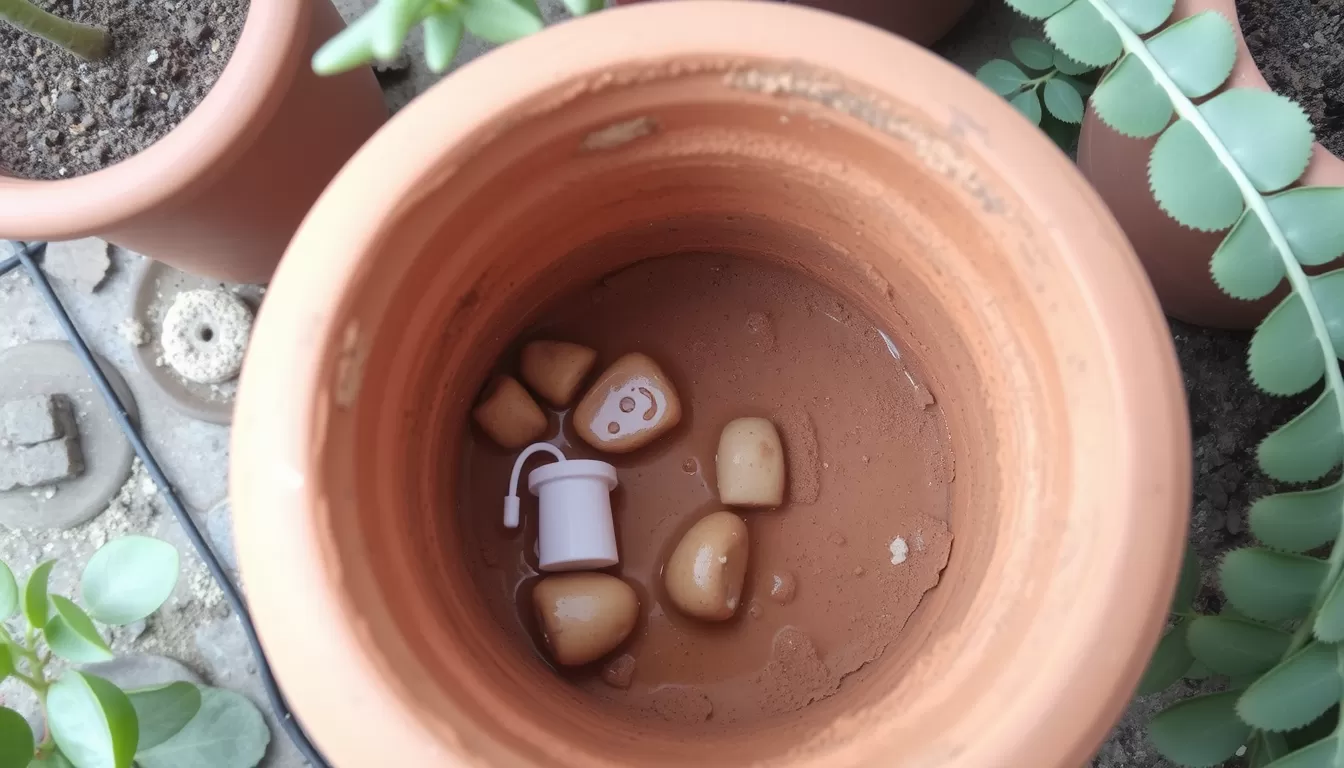
Let’s dive into the world of aloe pots and explore the pros and cons of different materials. Terracotta, with its rustic charm, is a favorite among plant enthusiasts. Its porous nature allows for excellent drainage and airflow, preventing the dreaded root rot that aloes are susceptible to. However, this porosity also means it dries out quickly, requiring more frequent watering. If you tend to underwater your plants, terracotta might be a risky choice. But for those who are heavy-handed with the watering can, terracotta can be a lifesaver.
Plastic containers, on the other hand, are the champions of moisture retention. They’re lightweight, inexpensive, and come in a variety of colors and styles. This makes them a practical choice, especially for beginners. However, their water-holding capacity can be a double-edged sword. While it reduces watering frequency, it also increases the risk of overwatering if you’re not careful. Proper drainage holes are essential when using plastic aloe pots, and it’s crucial to allow the soil to dry out between waterings. Think of plastic as the budget-friendly option that requires a bit more attention to watering.
Finally, we have ceramic, the elegant cousin of terracotta. Ceramic aloe pots offer a balance between drainage and moisture retention. They come in a wider range of styles and finishes, allowing you to express your personal taste. However, they can be more expensive than plastic or terracotta, and their weight can make them challenging to move around. Glazed ceramic pots retain more moisture, similar to plastic, while unglazed ceramic offers better drainage, closer to terracotta. Consider your watering habits and aesthetic preferences when choosing between glazed and unglazed ceramic containers.
Ultimately, the best material for your aloe pots depends on your individual circumstances. Consider your climate, watering habits, and personal style. Do you live in a humid environment? Terracotta might be your best bet. Are you a forgetful waterer? Plastic could be a good choice, but be mindful of drainage. Do you want to make a style statement? Ceramic offers a range of options. No matter which material you choose, ensuring proper size and drainage is key to a happy and healthy aloe plant.
Size and Drainage: Crucial for Aloe Health
Let’s talk size. Choosing the right size container for your aloe is like finding the perfect pair of shoes – not too big, not too small, but just right. A pot that’s too small will constrict the roots, stunting the plant’s growth and potentially causing it to become rootbound. You’ll know it’s time to repot when you see roots circling the bottom of the pot or poking out of the drainage holes. On the other hand, a pot that’s too large can hold excess moisture, leading to root rot, a common problem for aloes. The ideal size aloe pot should be slightly larger than the root ball, allowing for some room to grow but not so much that the soil stays soggy.
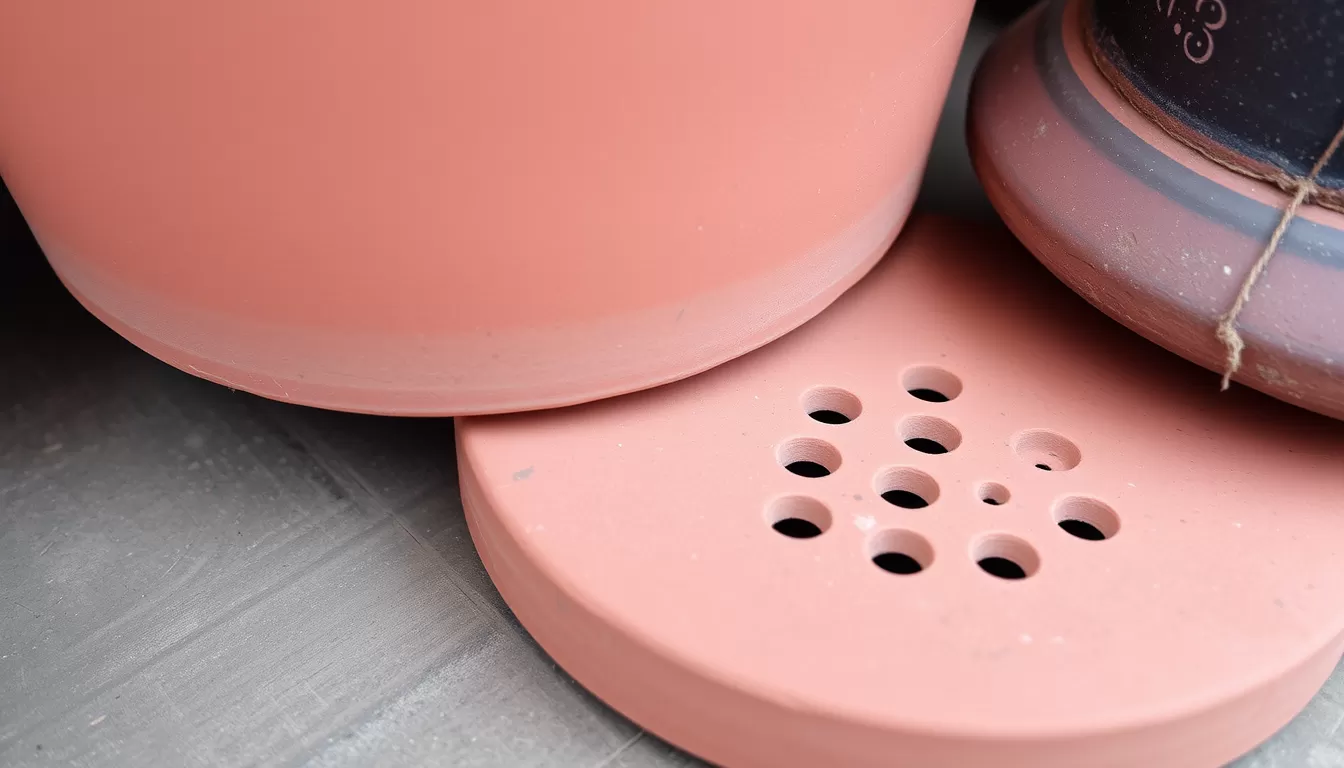
Now, let’s discuss drainage, the unsung hero of aloe health. These desert-dwelling plants detest soggy soil, so adequate drainage is paramount. Always choose containers with drainage holes to allow excess water to escape. Think of it as giving your aloe a little breathing room. Without proper drainage, the roots can become waterlogged, leading to root rot and other fungal diseases. So, when selecting your aloe pots, make sure those drainage holes are present and accounted for.
The perfect combination of size and drainage will set your aloe up for success. A slightly larger pot with ample drainage holes is the winning formula. This allows the roots to spread out, promotes healthy growth, and prevents the dreaded root rot. Remember, a well-drained and appropriately sized container is a crucial step in creating a thriving environment for your aloe vera.
Potting and Repotting Your Aloe
The moment has arrived: you’ve chosen the perfect aloe pot – the right size, the right material, and boasting excellent drainage. Now, let’s get your aloe settled into its new home. Whether you’re potting a new aloe pup or repotting a mature plant, the process is similar. First, gently remove the aloe from its current container, taking care not to damage the roots. If the roots are tightly bound, carefully loosen them with your fingers. Next, add a layer of well-draining potting mix to the bottom of the new aloe pot. Place the aloe in the center, ensuring the top of the root ball is level with the rim of the pot. Fill the remaining space with potting mix, leaving about an inch of space between the soil surface and the top of the container.
Repotting is a crucial part of aloe care. As your aloe grows, its roots will eventually fill the current container, becoming rootbound. This can stunt its growth and prevent it from thriving. How often you repot depends on the growth rate of your aloe, but generally, every one to two years is a good rule of thumb. Signs that your aloe needs repotting include roots circling the bottom of the pot, roots poking out of the drainage holes, or the plant looking cramped in its current container. When repotting, choose a container that’s only slightly larger than the previous one – about an inch or two wider in diameter. This gives the roots some room to grow without the risk of overwatering.
After potting or repotting, water your aloe thoroughly, allowing excess water to drain completely. Avoid watering again until the soil has dried out. Remember, aloes prefer a dry environment, so it’s better to underwater than overwater. With the right size container, proper drainage, and careful potting techniques, your aloe will be well on its way to thriving in its new home.
Choosing the Right Soil for Your Aloe
Now that you’ve selected the perfect aloe pots, let’s talk about what goes inside them: the soil. Choosing the right soil is just as important as the container itself. Remember, aloes are succulents, native to arid regions, so they thrive in well-draining soil that mimics their natural environment. Standard potting mix, while suitable for many houseplants, often retains too much moisture for aloes, putting them at risk of root rot. The ideal soil for aloe vera is a loose, gritty mix that allows excess water to drain quickly.
A popular choice is a cactus and succulent mix, which is readily available at most garden centers. This type of mix typically contains a blend of peat moss, perlite, and sand, providing good drainage and aeration for the roots. You can also create your own aloe potting mix by combining equal parts standard potting soil, coarse sand, and perlite or pumice. The addition of sand and perlite improves drainage and prevents the soil from becoming compacted, allowing the roots to breathe. Avoid using heavy clay soils or those containing vermiculite, as these retain too much moisture and can lead to root problems.
The right soil, combined with the appropriate size and material of your aloe pots, and adequate drainage, creates the perfect trifecta for a thriving aloe. Remember, a well-draining soil mix is essential for preventing root rot and ensuring your aloe stays healthy and happy. So, choose your soil wisely, and your aloe will thank you for it.
Caring for Your Aloe in its New Pot
Congratulations! Your aloe is now settled in its perfect pot, a carefully chosen container designed for optimal growth and well-being. But the journey doesn’t end here. Proper care is essential to ensure your aloe thrives in its new home. Think of it as providing ongoing support for your spiky green companion. One of the most critical aspects of aloe care is watering. Remember, aloes are drought-tolerant plants, so they prefer a dry environment. Overwatering is a common mistake that can lead to root rot and other problems. The key is to allow the soil to dry out completely between waterings. Stick your finger about an inch into the soil; if it feels dry, it’s time to water. When you do water, water deeply, allowing excess water to drain completely from the drainage holes of your chosen aloe pots. Avoid letting your aloe sit in standing water, as this can quickly lead to root rot.
Sunlight is another crucial factor for aloe health. These sun-loving plants thrive in bright, indirect light. A south-facing window is ideal, but an east- or west-facing window will also work. If you notice your aloe stretching or becoming leggy, it’s a sign that it’s not getting enough light. Conversely, too much direct sunlight can scorch the leaves, so avoid placing your aloe in direct midday sun. Rotate your aloe regularly to ensure even light exposure and prevent it from leaning towards the light source. A happy aloe is a well-lit aloe!
Finally, let’s talk about fertilizing. While aloes aren’t heavy feeders, they benefit from occasional fertilization during the growing season (spring and summer). Use a balanced liquid fertilizer diluted to half strength and apply it every four to six weeks. Avoid fertilizing during the dormant period (fall and winter), as this can lead to salt buildup in the soil. With the right size container, appropriate material, good drainage, proper watering, adequate sunlight, and occasional fertilization, your aloe will thrive in its new pot, providing you with its beauty and healing properties for years to come. Remember, a little care goes a long way in ensuring the health and happiness of your aloe vera.
🌿 Discover the Perfect Plants for Your Space! 🌿
Explore our handpicked collection of cycads, aloes, seeds, and more to transform your garden or landscape.


