🌿 Discover the Perfect Plants for Your Space! 🌿
Explore our handpicked collection of cycads, aloes, seeds, and more to transform your garden or landscape.
Seed Collection and Handling
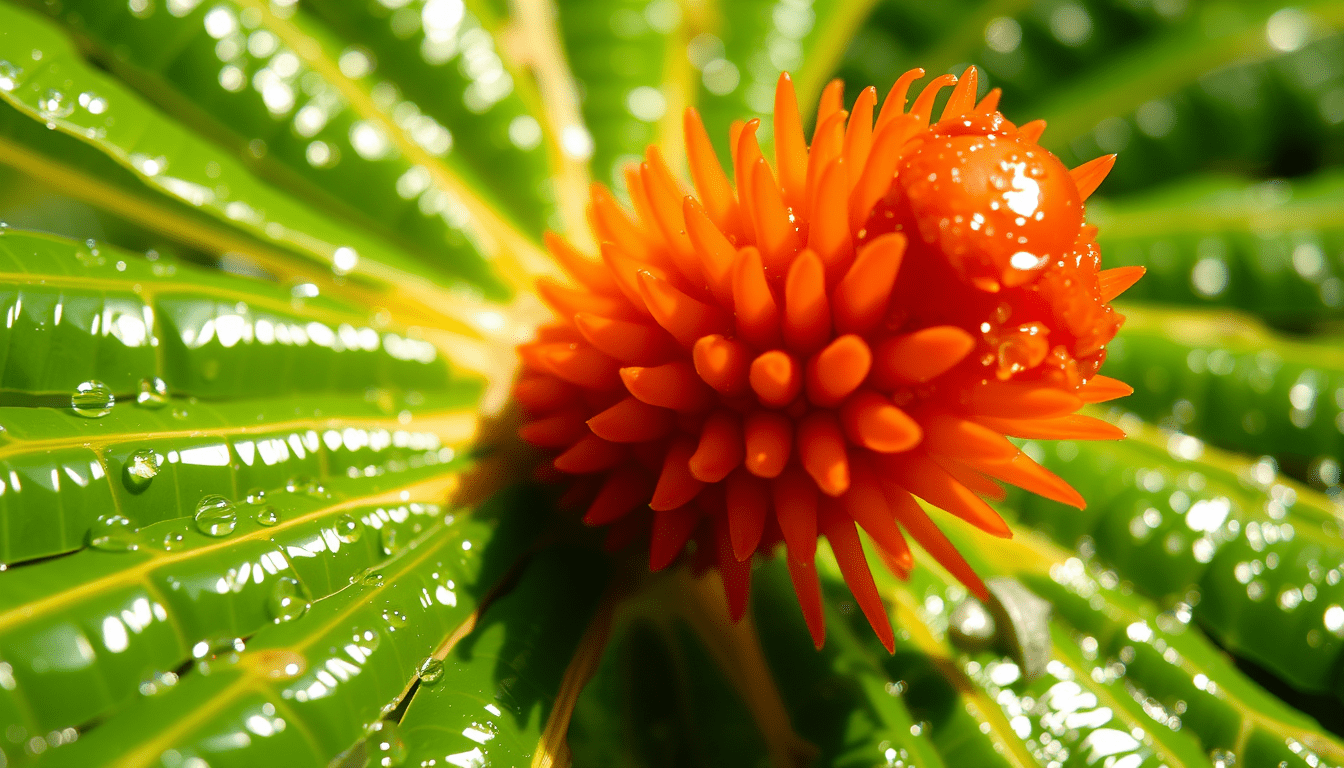
The journey of cycad propagation begins with the careful collection and handling of seeds. Successful germination relies heavily on the viability of these seeds, so understanding the nuances of their maturity and proper collection is crucial. Look for seeds that have ripened and detached from the cone, often exhibiting vibrant colors like orange, red, or yellow, depending on the species. Avoid collecting green seeds as they are typically immature and less likely to germinate. Gentle removal is key to preventing damage. If the seeds are firmly attached, it’s best to wait for natural detachment rather than forcing them off, which could harm the embryo within.
Once collected, the fleshy outer layer of the seeds, often called the sarcotesta, needs to be removed. This layer can inhibit germination and attract pests. Soaking the seeds in water for a few days can soften the sarcotesta, making it easier to remove by hand or by gently rubbing it against a coarse mesh. Be careful not to damage the hard inner seed coat during this process. After cleaning, thorough drying is essential to prevent fungal growth. Spread the seeds out in a single layer in a well-ventilated area, away from direct sunlight, for a few days until they are completely dry.
Proper storage of cycad seeds is vital for maintaining their viability until planting time. Store the cleaned and dried seeds in a cool, dry, and dark place. A sealed container with a desiccant like silica gel can help maintain low humidity and prevent fungal growth. While some cycad seeds can remain viable for several months, it’s generally recommended to sow them as soon as possible after collection for the best germination rates. Remember, successful seed collection and handling lays the foundation for successful cycad reproduction and the continuation of these ancient plant lineages. By following these guidelines, you are taking the first crucial steps in the rewarding journey of growing cycads from seed.
Preparing Cycad Seeds for Germination
Once you’ve successfully collected and cleaned your cycad seeds, the next crucial step is preparing them for germination. This process involves techniques that encourage the seeds to break dormancy and begin the process of sprouting. One common method is scarification, which involves slightly damaging the hard outer shell of the seed. This can be done by gently nicking the seed coat with a file or sandpaper, creating a small opening for water absorption. Be careful not to damage the embryo inside. This process mimics natural weathering processes that would occur in the wild.
Another important preparation technique is soaking. Soaking the scarified seeds in lukewarm water for 24 to 48 hours helps to further soften the seed coat and initiate the germination process. This hydration period allows the embryo within the seed to swell and begin its metabolic activity. Change the water every 12 hours to prevent stagnation and potential bacterial growth. You might notice the seeds starting to swell slightly, a positive sign that they are absorbing water and preparing for growth.
For some cycad species, a period of stratification can be beneficial. This involves exposing the seeds to a period of cold, moist conditions, simulating the natural winter dormancy period they would experience in their native habitats. This can be achieved by placing the seeds in a moist medium like peat moss or vermiculite and storing them in a refrigerator for several weeks. Stratification can help to break down any remaining dormancy mechanisms and improve germination rates. The specific duration of stratification varies depending on the cycad species, so it’s essential to research the requirements of your specific cycad type. Proper preparation of cycad seeds is crucial for successful propagation and ensures the best chance for these ancient plants to thrive and reproduce.
Germination Techniques
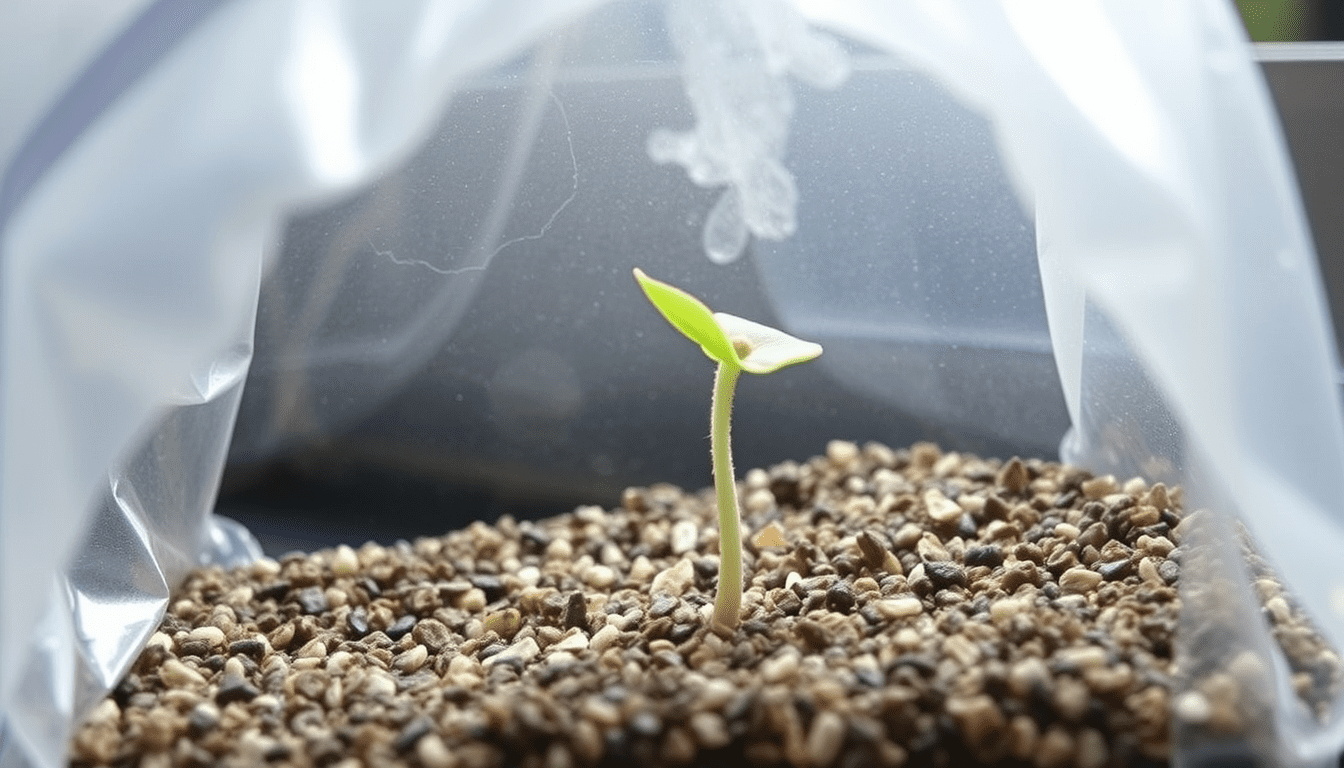
With your cycad seeds prepared, the anticipation of germination begins! Several effective techniques can be employed to encourage sprouting. The baggy method is a popular choice, offering a humid and controlled environment. Place the prepared seeds in a sealed plastic bag filled with a moist medium such as perlite, vermiculite, or even a damp paper towel. The bag creates a humid microclimate, promoting consistent moisture levels crucial for germination. Place the bag in a warm location, ideally around 70-80°F (21-27°C), and avoid direct sunlight which can overheat the seeds.
Another effective method involves using a germination tray filled with a well-draining seed-starting mix. Sow the seeds about an inch deep, ensuring they are evenly spaced. Maintain consistent moisture by misting the mix regularly, but avoid overwatering, which can lead to rot. Covering the tray with a clear plastic dome or humidity chamber can help retain moisture and create a favorable environment for germination. This method allows for easy monitoring of the seeds and provides ample space for root development.
For those seeking a more hands-off approach, direct sowing in pots is an option. Plant the prepared cycad seeds directly into individual pots filled with a well-draining potting mix. This method minimizes disturbance to the developing roots during transplanting. While this method requires less monitoring, it’s crucial to ensure consistent moisture and warmth for successful germination. Regardless of the chosen method, patience is key. Cycad seeds can take several weeks, or even months, to germinate, depending on the species. Regularly check for signs of growth, such as a small root emerging from the seed, and be prepared to provide appropriate care as the seedlings begin their journey.
Planting Germinated Seeds
The emergence of a tiny root or radicle from your cycad seed marks a thrilling milestone in the propagation journey. This signifies successful germination and the beginning of the seedling stage. Now, these delicate sprouts are ready for their new homes. Choose individual pots that are slightly larger than the germinated seed, providing ample space for root development without overwhelming the young plant. A well-draining potting mix is crucial, as cycads are susceptible to root rot in soggy conditions. A mix formulated for cacti and succulents often works well, providing good aeration and drainage.
When planting the germinated cycad seeds, handle them with utmost care. The emerging radicle is fragile and easily damaged. Create a small hole in the potting mix, deep enough to accommodate the seed and its emerging root. Gently place the seed in the hole, ensuring the radicle is pointing downwards. Position the seed so that the top is just below the surface of the potting mix, allowing for sufficient light to reach the emerging leaves. Gently firm the soil around the seed, ensuring good contact but avoiding compaction.
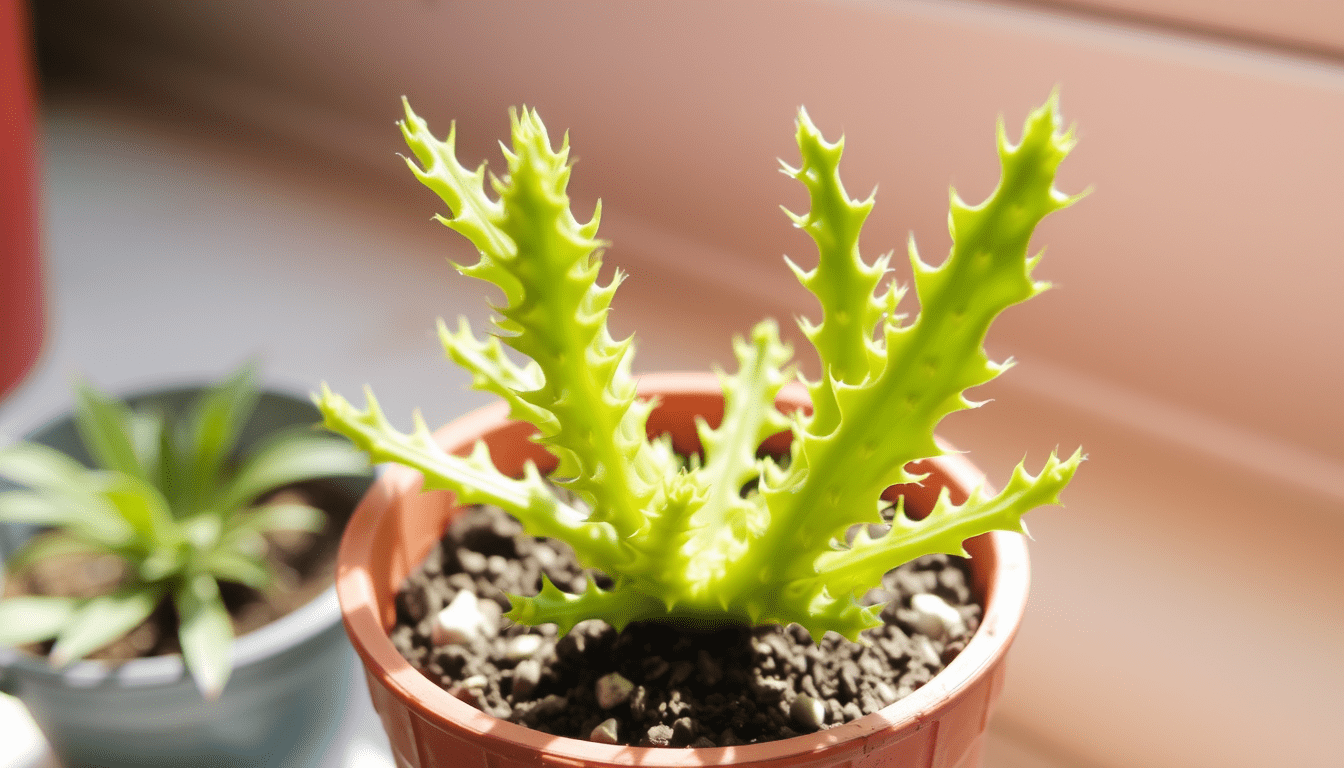
After planting, water the newly potted cycad seedlings thoroughly, but avoid overwatering. The goal is to keep the soil consistently moist but not waterlogged. Place the pots in a warm, brightly lit location, but avoid direct sunlight, which can scorch the young leaves. A sheltered spot with dappled shade or indirect sunlight is ideal. Remember, patience is still a virtue. Cycad seedlings grow slowly, and it will take time for them to develop into robust young plants. Consistent care, proper watering, and a suitable environment will ensure their healthy growth and set the stage for their eventual maturation into magnificent cycads, contributing to the reproduction and continuation of these fascinating ancient plants.
Seedling Care and Maintenance
Once your cycad seedlings have established themselves in their individual pots, a consistent care routine is essential for their continued growth and development. These young plants require specific conditions to thrive, mimicking their natural environment as closely as possible. Watering is a critical aspect of cycad seedling care. Maintain consistently moist soil, but avoid overwatering, which can lead to root rot. Allow the top inch of soil to dry out slightly between waterings. The frequency of watering will depend on factors such as the size of the pot, the ambient temperature, and the humidity levels. During the growing season, more frequent watering may be necessary, while during dormancy, reduce watering significantly.
Light is another crucial factor for healthy cycad seedling growth. These plants thrive in bright, indirect light. Avoid placing them in direct sunlight, which can scorch their delicate leaves. A location near a bright window, but protected from the harsh midday sun, is ideal. If growing indoors, supplemental grow lights can be beneficial, especially during winter months when natural light is limited. As the seedlings grow, they can gradually be acclimated to higher light levels.
Fertilizing cycad seedlings can promote healthy growth, but it should be done with caution. Over-fertilizing can be detrimental to young plants. Use a balanced, diluted liquid fertilizer specifically formulated for cycads or palms during the growing season. Apply the fertilizer every few months, following the manufacturer’s instructions carefully. Avoid fertilizing during the dormant period, as the plants are not actively growing and excess nutrients can accumulate in the soil. Consistent care, appropriate watering, proper lighting, and judicious fertilizing are essential for nurturing your cycad seedlings into healthy, thriving young plants, ensuring the successful propagation and reproduction of these ancient botanical wonders.
Repotting your cycad seedlings becomes necessary as they grow and their roots fill their current containers. This usually occurs every two to three years, depending on the growth rate of the specific cycad species. Choose a slightly larger pot, providing ample space for root expansion without being overly large. A well-draining potting mix is crucial for preventing root rot. Carefully remove the seedling from its old pot, gently loosening the root ball. Place the seedling in the new pot, ensuring the top of the root ball is level with the surface of the potting mix. Water thoroughly after repotting and place the plant in a bright, indirect light location. Repotting encourages healthy growth and provides the necessary space for your cycad seedlings to continue their development toward maturity. Through dedicated care and attention to these growing cycads, you are contributing to the preservation and continuation of these fascinating and ancient plant lineages.
Troubleshooting and Common Problems
Even with the most diligent care, cycad propagation from seed can sometimes encounter challenges. Understanding common problems and their solutions can help ensure the successful growth of these ancient plants. One frequent issue is seed rot, often caused by overwatering or poorly draining soil. Affected seeds may become soft, mushy, and discolored. To prevent this, ensure the potting mix is well-draining and avoid overwatering. If seed rot occurs, remove the affected seeds immediately to prevent the spread of fungal infection. Adjust watering practices and consider using a fungicide to treat the remaining seeds and potting mix.
Another common problem is slow or lack of germination. Cycad seeds are known for their sometimes lengthy germination periods, which can range from several weeks to several months depending on the species. Patience is key. However, if germination doesn’t occur within a reasonable timeframe, several factors might be at play. Ensure the seeds were properly prepared, including scarification and soaking, to break dormancy. Check the temperature and humidity levels, as these play a crucial role in germination success. If conditions are not optimal, adjust accordingly. In some cases, the seeds may simply be non-viable, highlighting the importance of starting with fresh, high-quality cycad seeds.
Pests can also pose a threat to cycad seedlings. Mealybugs, scale insects, and spider mites are common culprits. Regularly inspect your seedlings for signs of infestation, such as webbing, sticky residue, or the presence of the insects themselves. If detected, treat the affected plants promptly with appropriate insecticidal soap or horticultural oil. Isolate infested plants to prevent the spread of pests to other seedlings. Maintaining good air circulation and avoiding overcrowding can also help deter pest infestations.
Sometimes, seedlings may exhibit yellowing or browning leaves. This can be caused by several factors, including nutrient deficiencies, improper watering, or excessive sunlight. Check the soil moisture levels and adjust watering practices as needed. If nutrient deficiency is suspected, consider using a diluted liquid fertilizer specifically formulated for cycads. Protect seedlings from direct sunlight, which can scorch their delicate leaves. Provide bright, indirect light for optimal growth. By understanding and addressing these common problems, you can increase the chances of successful cycad propagation and enjoy the rewards of growing these fascinating plants from seeds, contributing to their reproduction and the preservation of their ancient lineage.
🌿 Discover the Perfect Plants for Your Space! 🌿
Explore our handpicked collection of cycads, aloes, seeds, and more to transform your garden or landscape.


