🌿 Discover the Perfect Plants for Your Space! 🌿
Explore our handpicked collection of cycads, aloes, seeds, and more to transform your garden or landscape.
Choosing the Right Pot and Soil
When it comes to growing thriving aloe vera in containers, selecting the right pot and soil is crucial. Think of it like building a house – a solid foundation is key! Your pot acts as the aloe’s home, while the soil provides the nutrients and support it needs to flourish. Choosing wisely sets the stage for a happy, healthy plant.
For pots, terracotta or clay pots are excellent choices. Their porous nature allows for good air circulation and drainage, preventing the dreaded root rot that aloe vera is susceptible to. Avoid using plastic or glazed ceramic pots as they retain too much moisture. Size matters too! Choose a pot that’s slightly larger than the aloe’s root ball, allowing room for growth but not so large that the soil stays soggy. A good rule of thumb is to select a pot with a diameter about 1-2 inches larger than the current root ball.
Equally important is the soil. Aloe vera thrives in well-draining, sandy soil that mimics its natural desert environment. Standard potting mix is often too dense and retains too much water, leading to root rot. Instead, opt for a specialized cactus and succulent mix, or create your own by combining equal parts potting soil, perlite, and coarse sand. This blend ensures proper drainage and aeration, preventing the roots from becoming waterlogged. Adding a layer of gravel at the bottom of the pot can further enhance drainage.
Watering and Fertilizing Aloe
Watering aloe vera in containers requires a delicate balance. These desert dwellers are adapted to arid conditions and are highly susceptible to root rot if overwatered. The key is to water deeply but infrequently, allowing the soil to dry out completely between waterings. Stick your finger about an inch into the soil; if it feels dry, it’s time to water. If it feels moist, wait a bit longer. During the active growing season (spring and summer), you might need to water every 2-3 weeks, while in the dormant winter months, watering once a month or even less might suffice. Remember, it’s always better to underwater than overwater.
When you do water, ensure that the water drains completely from the drainage holes of the pots. Avoid letting the pot sit in standing water, as this can lead to root rot. The amount of water needed will depend on the size of the pot, the type of soil, and the climate. A good practice is to water thoroughly until you see water draining from the bottom, then discard any excess water that collects in the saucer.
While aloe vera isn’t a heavy feeder, fertilizing occasionally during the growing season can promote healthy growth. Use a balanced, water-soluble fertilizer diluted to half strength. Apply the fertilizer every 4-6 weeks during spring and summer, avoiding fertilization during the dormant winter months. Over-fertilizing can lead to salt buildup in the soil, which can harm the plant. Always follow the instructions on the fertilizer packaging for the best results.
Providing Adequate Sunlight
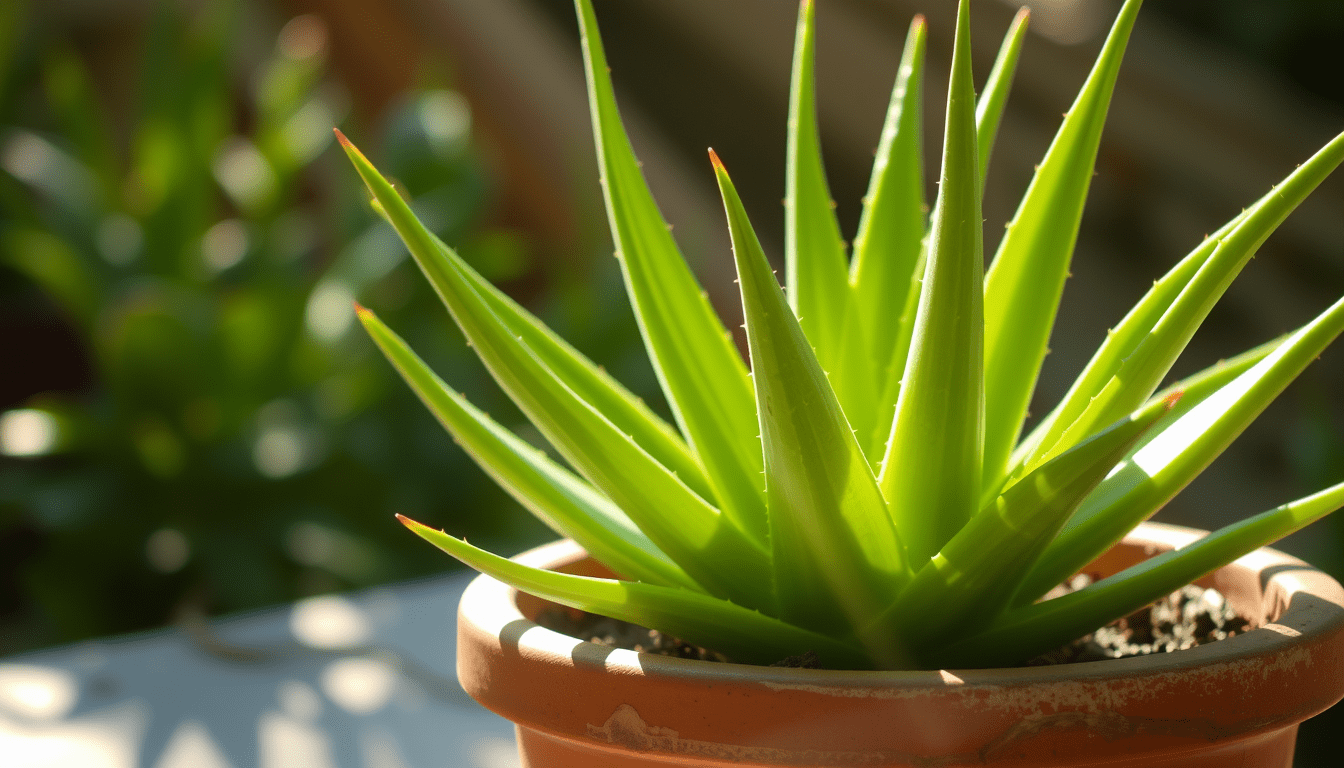
Just like in their native desert habitats, aloe vera plants grown in containers crave sunlight. Think of them as little sun worshippers, soaking up those rays to fuel their growth and produce their signature plump, juicy leaves. Ideally, your aloe should receive at least six to eight hours of bright, indirect sunlight daily. A south-facing window is typically the best spot, but an east or west-facing window can also work well, provided the plant receives enough light.
While aloe loves light, too much direct sunlight, especially during the hottest part of the day, can scorch its leaves. If you notice the leaves turning brown or reddish, it’s a sign of sunburn. In such cases, move the plant to a location with some shade during peak sun hours, or use a sheer curtain to filter the light. Conversely, if your aloe isn’t getting enough light, it might start to stretch and become leggy, a phenomenon known as etiolation. This is the plant’s way of reaching for more light. If you see this happening, move it to a brighter location.
During the winter months, when sunlight is less intense, you might need to supplement natural light with artificial grow lights. This is particularly important if you live in a region with short, dark winters. Place the grow lights about 6-12 inches above the plant and provide 12-14 hours of light per day to mimic summer conditions. This will help your aloe stay healthy and prevent it from becoming dormant.
Repotting and Propagating Aloe
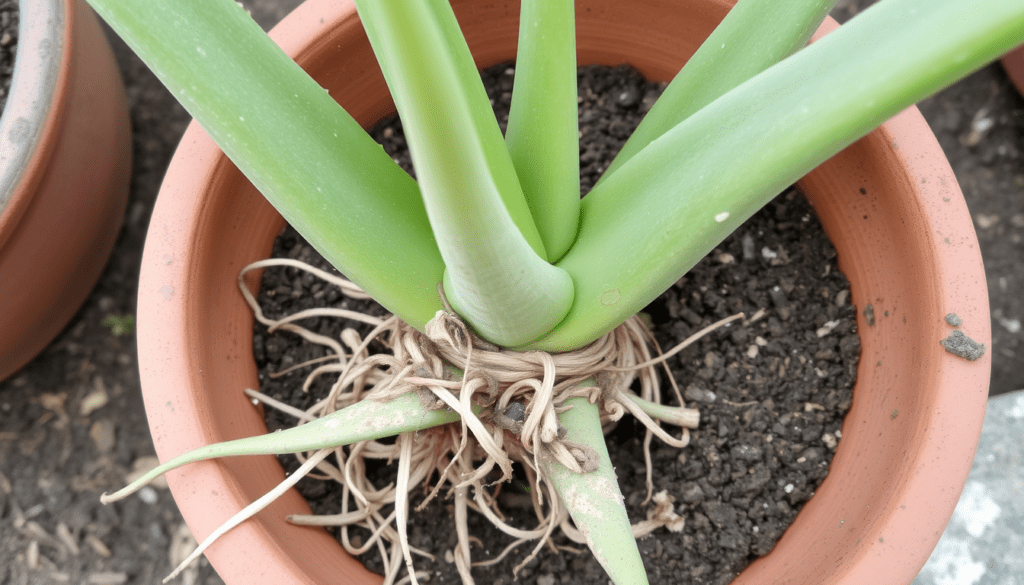
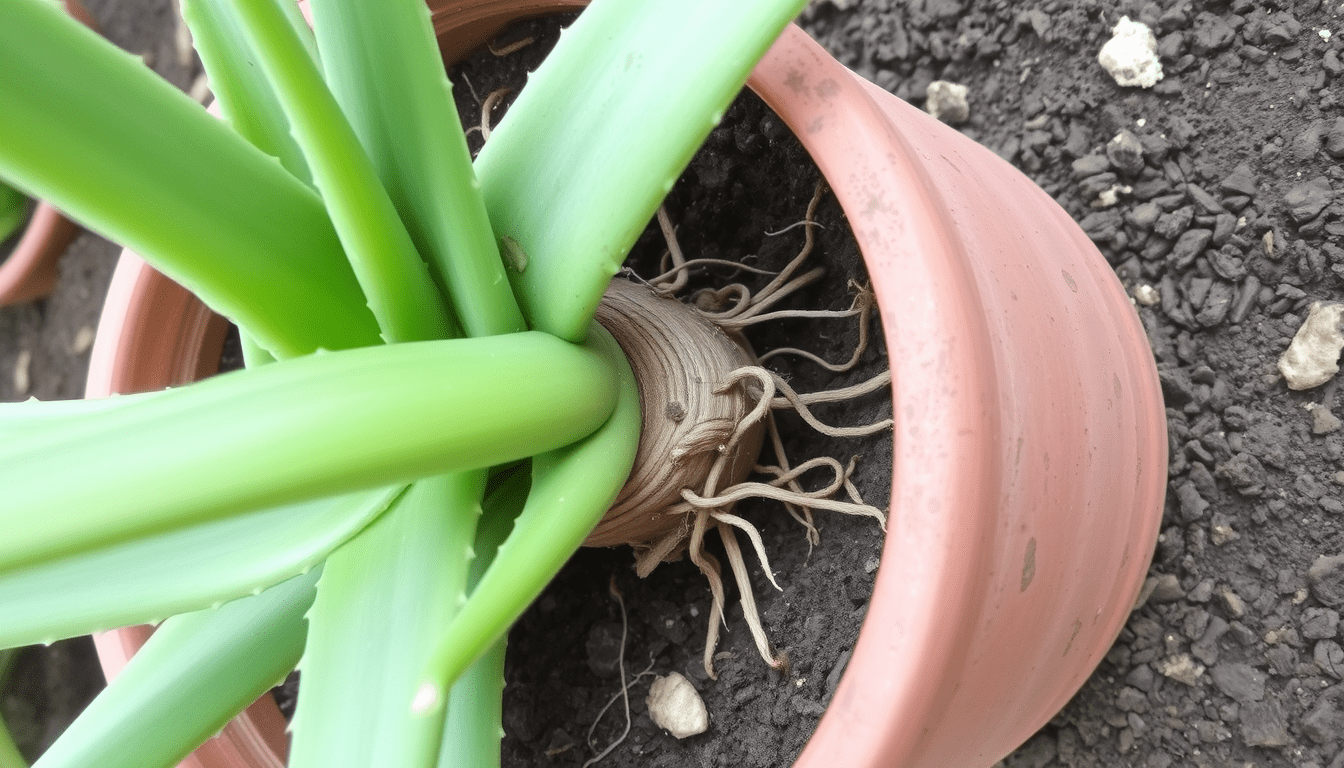
As your aloe vera thrives in its container, it will eventually outgrow its current home. Repotting is essential to provide the plant with fresh soil and more space for its expanding root system. A good indication that your aloe needs repotting is when you see roots circling the bottom of the pot or poking out of the drainage holes. Generally, repotting every 1-2 years is sufficient, ideally during the spring or early summer when the plant is actively growing.
When repotting, choose a new pot that’s slightly larger than the previous one, about 1-2 inches wider in diameter. Gently remove the aloe from its old pot, taking care not to damage the roots. If the roots are tightly bound, carefully loosen them with your fingers. Inspect the roots for any signs of rot or damage, and trim away any affected areas. Place a layer of fresh, well-draining cactus and succulent mix in the new pot, then position the aloe in the center. Fill the remaining space with more soil, ensuring that the base of the plant is at the same level as it was in the old pot. Water thoroughly after repotting, allowing excess water to drain completely.
Propagating aloe vera is a rewarding way to expand your collection and share this versatile plant with others. One of the easiest methods is through pups, also known as offsets. These are baby aloe plants that grow from the base of the mother plant. When the pups are a few inches tall and have developed their own root system, they can be carefully separated and planted in individual pots. Use a sharp, clean knife to separate the pups, ensuring that each pup has some roots attached. Allow the cut surfaces to dry for a few days before planting in well-draining soil. Water sparingly until the pups establish themselves.
Common Aloe Vera Problems
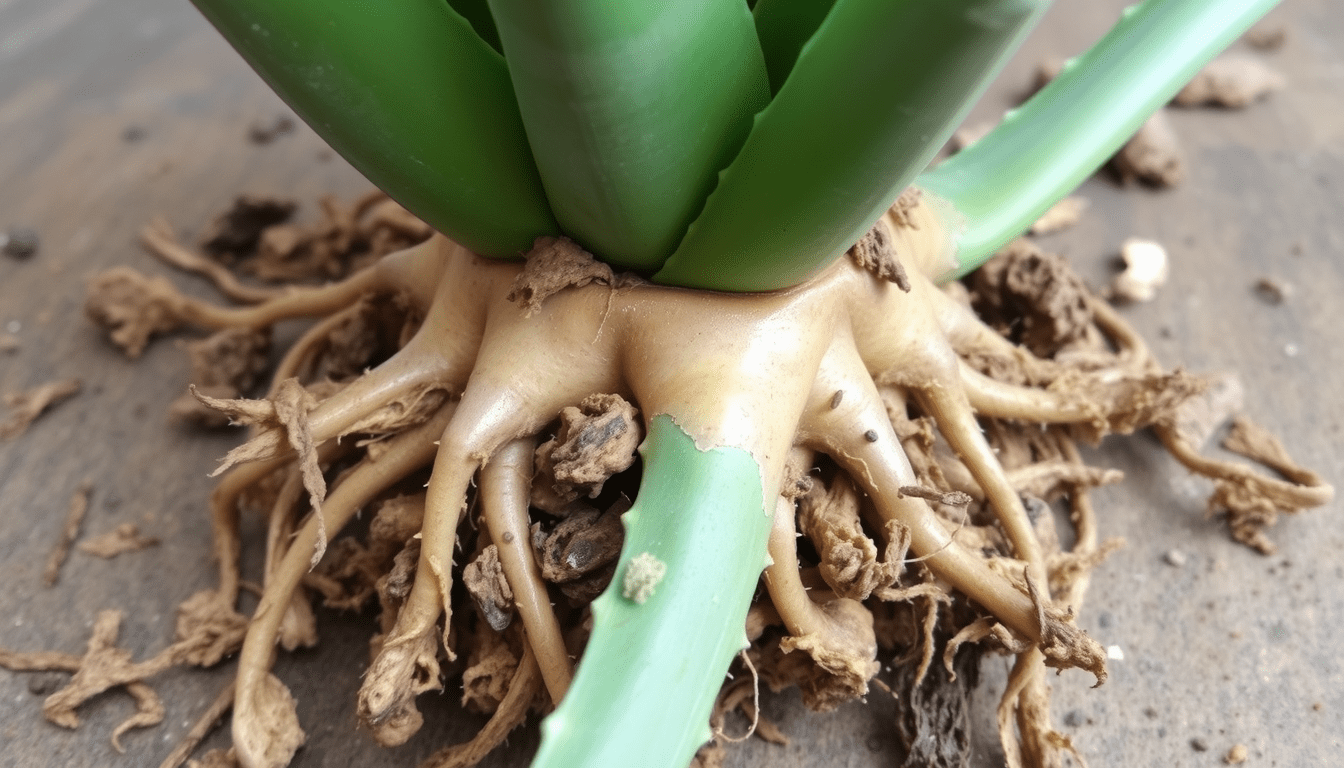
Even with the best care, aloe vera plants in containers can sometimes encounter problems. Recognizing and addressing these issues early is key to keeping your aloe healthy and thriving. One common problem is root rot, often caused by overwatering or poorly draining soil. Soggy soil deprives the roots of oxygen, leading to decay. Signs of root rot include mushy, brown roots, and leaves that turn yellow or brown and feel soft and mushy. If you suspect root rot, carefully remove the plant from its pot, inspect the roots, and trim away any affected areas. Repot the aloe in fresh, well-draining soil and adjust your watering habits.
Another issue is leaf discoloration. Brown or reddish leaves often indicate sunburn, caused by too much direct sunlight. Move the plant to a location with some shade during peak sun hours or use a sheer curtain to filter the light. Pale or yellowing leaves, on the other hand, can signify insufficient light or nutrient deficiency. If your aloe isn’t getting enough light, move it to a brighter location or consider using grow lights. If you suspect a nutrient deficiency, fertilize with a balanced, water-soluble fertilizer diluted to half strength.
Pests, although less common with aloe vera, can occasionally become a problem. Mealybugs and scale insects are the most common culprits. Mealybugs appear as small, white, cottony masses, while scale insects look like small, brown bumps on the leaves. Both pests suck the sap from the plant, weakening it and causing stunted growth. If you notice these pests, isolate the affected plant and treat it with insecticidal soap or neem oil. Ensure proper drainage and avoid overwatering, as these conditions can attract pests. Regularly inspecting your aloe for any signs of pests or diseases is crucial for early detection and treatment.
🌿 Discover the Perfect Plants for Your Space! 🌿
Explore our handpicked collection of cycads, aloes, seeds, and more to transform your garden or landscape.


