🌿 Discover the Perfect Plants for Your Space! 🌿
Explore our handpicked collection of cycads, aloes, seeds, and more to transform your garden or landscape.
Selecting the right aloe seeds
When it comes to successfully growing aloe from seed, your first decision—and perhaps the most crucial—will be choosing the right seeds. Not all aloe seeds are created equal, and picking the best ones for your growing environment is critical for a thriving garden. You may already know that there are over 500 species of aloe, from the well-known Aloe vera to the mesmerizing spirals of Aloe polyphylla. Each species has its own unique charm, but they can vary significantly when it comes to growth habits and care needs.
Whether you’re a novice or an experienced gardener, sourcing your seeds from a reputable supplier is essential. High-quality aloe seeds should be fresh, as aged ones tend to have lower germination rates. Always check the viability before purchasing; the fresher the seeds, the more likely they are to sprout up healthy plants. Do some research on the supplier’s reputation, and try to find companies that specialize in succulents and desert plants.
Another important aspect when selecting seeds is knowing your end goal. Are you looking to grow a decorative aloe to add to your succulent collection, or are you primarily interested in a robust species for medicinal purposes? For example, if you’re drawn to the therapeutic benefits, Aloe vera is the go-to choice. On the other hand, more striking varieties like Aloe ferox or Aloe aristata will spice up your collection with their unique forms. The species you choose should align with both your aesthetic desires and the conditions in which you plan to nurture them.
Remember, choosing the right seeds will set the foundation for your entire propagation journey. The time you invest in researching and selecting the best varieties will reward you with a healthy, long-lasting aloe garden.
Preparing the soil and containers
Once you’ve selected your seeds, it’s time to give them the best starting environment possible by preparing the right soil and containers. Aloe seeds, similar to those of many succulents, need a growing medium that replicates their natural, arid environment. Avoid standard potting soil, which can retain too much water, leading to seed rot or stunted growth. Instead, you’ll want to create a well-draining mix that promotes strong root development and keeps moisture in check.
A great soil mix for aloe seeds typically includes a combination of materials that retain minimal moisture while still providing essential nutrients. A base of cactus mix or succulent soil works wonders, but you can improve it by adding one part coarse sand or perlite to two parts soil. This blend ensures that excess water drains away quickly, preventing the soggy conditions that aloe plants despise. If you’re making your mix from scratch, aim for one part garden soil, one part coarse river sand, and one part pumice or perlite.
Now, let’s talk containers! Since aloe propagation starts with careful nurturing, you’ll want to choose shallow containers with drainage holes. Seedlings don’t need much depth in the beginning, as their root systems are quite small. Small pots or trays work just fine, but be sure to monitor the drainage—too much retained moisture can lead to problems. For those of you who love a DIY project, you can even upcycle some household items like egg cartons or yogurt cups, provided they have good drainage.
Lastly, sterilizing your containers before use is essential, especially if you’re reusing them. Give them a quick rinse in a mixture of hot water and a splash of vinegar or bleach to kill off any lingering bacteria or mold that could affect your seedlings. Happy, clean containers mean healthier, faster-growing plants!
Sowing the aloe seeds
Now that your soil mix and containers are ready, it’s time for the fun part—actually sowing the aloe seeds. First things first: remember that patience is your new best friend. Unlike some plants that sprout up in just a few days, aloes are in no rush, and their seeds might take several weeks to germinate. But trust me, the wait is well worth it!
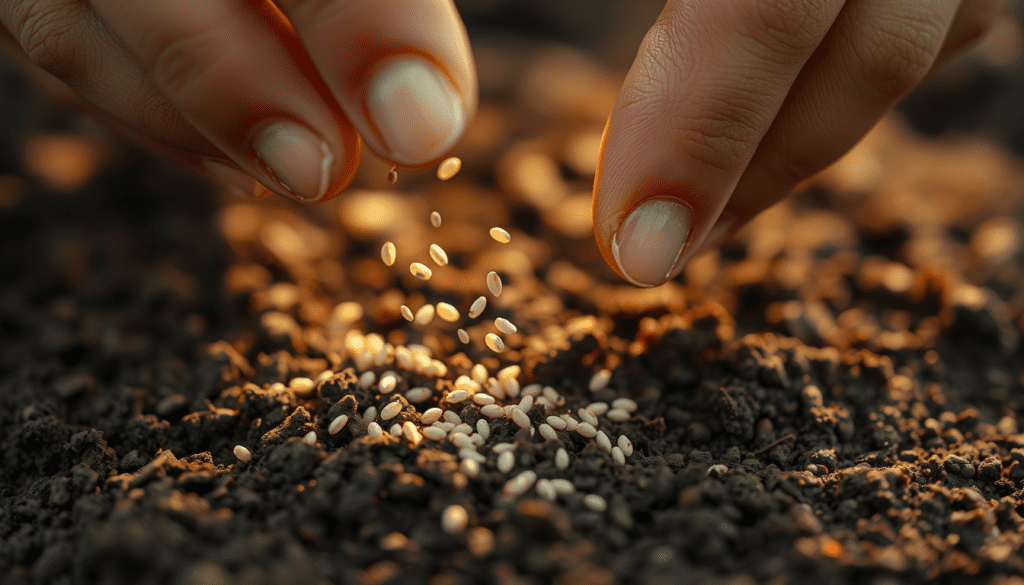
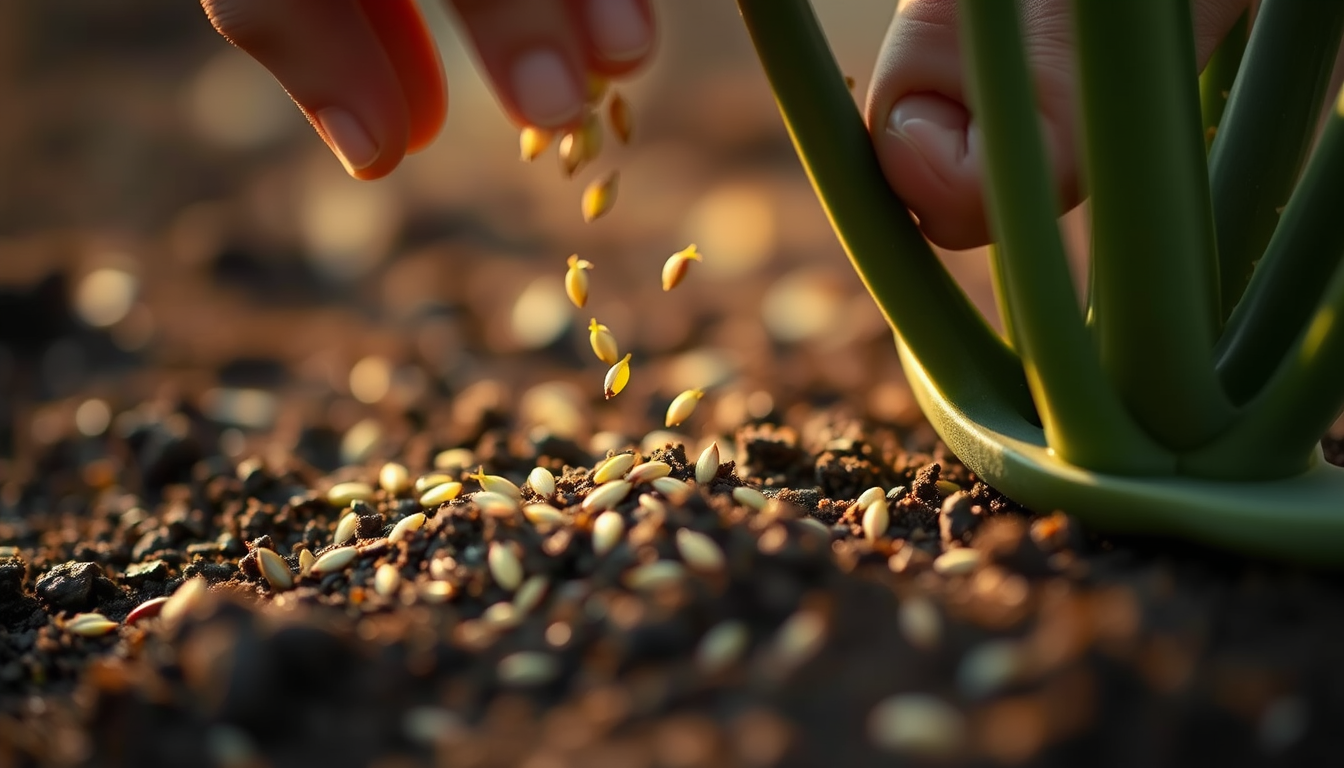
To give your seeds the best chance of success, start by gently sprinkling them across the surface of your pre-moistened soil. You don’t want to bury them too deeply—aloes prefer a light covering. Press the seeds into the soil just enough so they make proper contact with the growing medium, and then lightly cover them with a fine layer of sand or soil. Aim for a depth of no more than ¼ inch (about 6 mm).
Once your seeds are settled, it’s all about temperature and light. Aloe seeds need warmth to germinate, so try to keep them in an area that stays between 70°F and 75°F (21°C – 24°C). A windowsill that receives bright, indirect sunlight can be an ideal spot. If you live in a cooler climate or don’t have enough natural light, consider using grow lights or a heat mat to create that warm, cozy environment aloes love for propagation.
[Your CTA will be inserted here]
Watering and caring for seedlings
After patiently waiting for your aloe seeds to sprout (trust me, it’ll be worth the wait!), the next crucial step is ensuring your baby succulents grow strong and healthy through proper care—especially when it comes to watering. This is where many beginners stumble, as aloe seedlings are more finicky about water than fully grown plants.
At first, your seedlings will be quite delicate, with only their tiny root systems to anchor them. It’s crucial to keep the soil moist but not overly wet. Aim to keep it slightly damp—not drenched—as too much water can quickly lead to root rot or fungal diseases, which will wipe out your seedlings before they even get a chance to flourish. A good trick is to water them sparingly—perhaps with a fine misting or using a spray bottle to gently moisten the surface when it starts to dry out. Avoid pouring large amounts of water directly onto the seedlings, as this could drown them or disrupt their rooting progress.
As your seedlings grow and start looking a bit more robust (typically several weeks to a month after germination), you can adjust your watering schedule. You’ll want to avoid overwatering and continue to let the soil dry out between waterings. Aloe thrives in arid climates, and they have evolved to tolerate drought—meaning they prefer to be on the dry side rather than sitting in soggy soil. Let the top layer of soil dry out before you consider watering again. How often? That depends on your environment, but generally, watering once every few days in dry conditions or once a week should suffice during the earlier stages.
Remember to maintain the appropriate environmental factors for optimal growth. While seedlings do well in warm temperatures (about 70°F to 75°F), keep them shielded from excessive direct sunlight for prolonged periods. Their fragile leaves can easily become scorched if exposed to harsh rays, so a bright spot with indirect sunlight is ideal. If you’re using grow lights, adjust the brightness and ensure you’re mimicking a natural day-night cycle to keep your plants happy.
Transplanting seedlings into larger pots
Once your aloe seedlings have developed a sturdy root system and grown a few true leaves, it’s time to move them into larger pots to give them space to thrive. While it can be a delicate process, proper transplantation helps prevent overcrowding and ensures that each seedling receives enough nutrients, water, and air circulation to promote healthy growth.
The first clue that your aloe seedlings are ready for transplant is their size. Most aloe plants will be ready when they’re around 2 or 3 inches in height or have about 4-6 leaves. At this stage, their root system is strong enough to handle the move, and the plant is resilient enough to adapt to a roomier environment. You don’t want to wait too long, as overcrowded seedlings can start to compete for space, which can stunt their growth or lead to issues such as root rot and fungal infections.
When selecting new pots for your aloes, keep the size in mind. Your new container doesn’t have to be huge—we’re shooting for ‘Goldilocks-sized’ here: large enough to accommodate growing roots but not so large that it encourages excessive moisture retention. A pot with a diameter of about 3-5 inches should do the trick for most young aloe plants. Always make sure the pot has proper drainage holes to prevent water from pooling at the bottom, which could drown your plants.
How to Transplant Aloe Seedlings
Transplanting aloe seedlings requires a gentle hand to avoid damaging the young plants. Follow these steps to ensure a smooth and successful transplant:
- Prepare the new pots: Fill the new containers with a well-draining soil mix similar to what you used for sowing the seeds. A combination of succulent soil, sand, and perlite works well. Make sure the mix is slightly moist but not soggy.
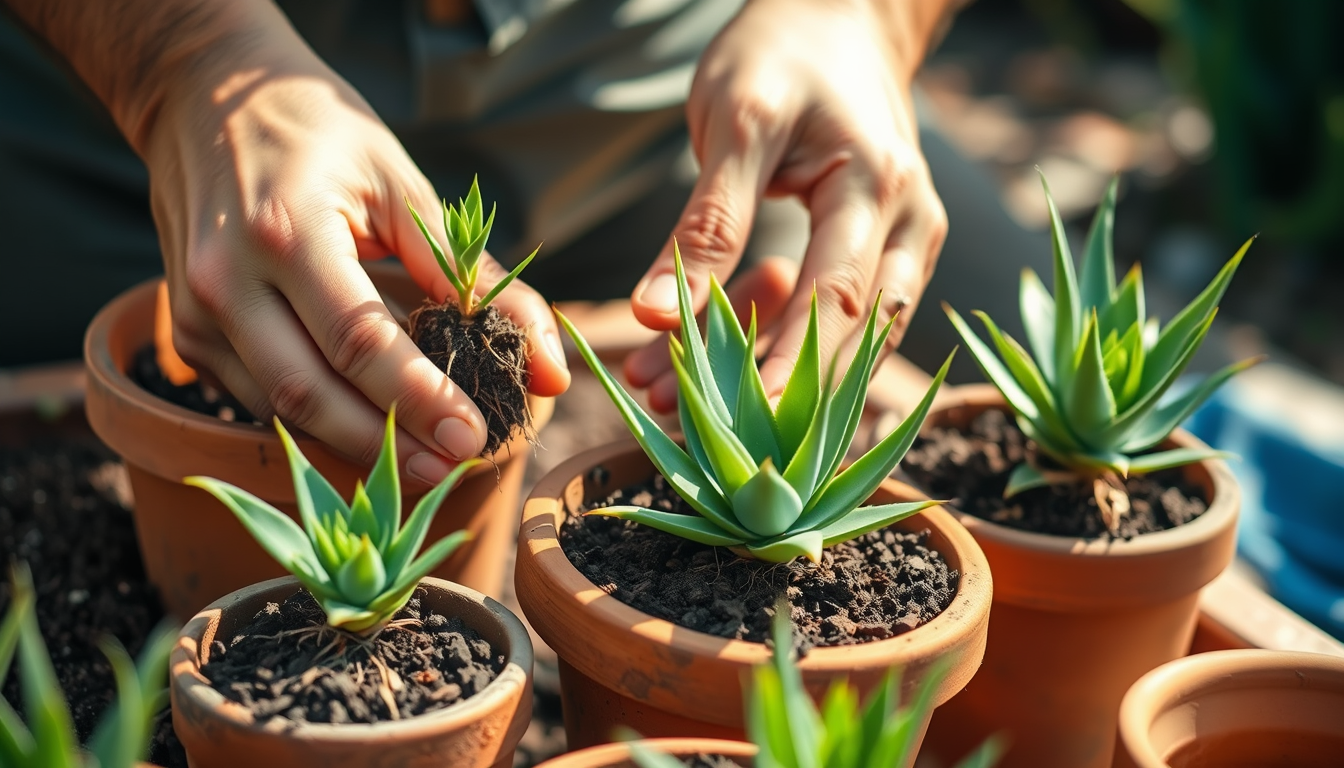
- Carefully remove seedlings: Gently loosen the soil around each seedling, then use a spoon or your fingers to lift the plant by its leaves, avoiding the fragile roots. Take your time with this step to prevent breaking any part of the plant.
- Place in new pot: Once removed, make a small hole in the center of the new pot’s soil and place the seedling inside, ensuring the roots are covered, but the base of the plant is above the soil line.
- Settle the plant: Gently press down on the soil around the base of the seedling to make sure it’s secure. Avoid pressing down too hard to maintain good air circulation in the soil.
Post-Transplant Care
After the transplant, your aloe seedlings may need a little extra attention to combat the stress of relocation. First, resist the urge to water immediately! Instead, allow the roots a day to settle and adjust to their new pot before reintroducing water. When you do water, remember to keep it light—aloe plants still prefer dry, well-drained soil over a sopping wet environment.
For light, keep your young aloes in bright, indirect sunlight for a little while longer until they are strong enough to handle more direct rays. Transplants can be a bit sensitive right after their move, so slowly increase their exposure to sunlight over a week or two. It’s a good idea to rotate them every few days so they receive even light and grow symmetrically.
Patience is Key
As with every stage of aloe propagation, patience is your friend. Transplanted seedlings can take a bit of time to show signs of new growth as they settle into their new homes. Be sure to monitor them frequently for any signs of stress, such as yellowing leaves or slow growth. Keeping a close eye on the watering schedule and ensuring the pots drain well will help you avoid any major issues.
“Good things come to those who wait—even more so when those good things are thriving, healthy aloe plants.”
🌿 Discover the Perfect Plants for Your Space! 🌿
Explore our handpicked collection of cycads, aloes, seeds, and more to transform your garden or landscape.


