🌿 Discover the Perfect Plants for Your Space! 🌿
Explore our handpicked collection of cycads, aloes, seeds, and more to transform your garden or landscape.
Choosing the Right Pot and Soil
Choosing the right pot and soil is crucial for successful aloe repotting and the future happiness of your spiky friend. The pot size should be slightly larger than the current one, providing enough space for the roots to grow and spread. A good rule of thumb is to choose a pot that’s about 1-2 inches larger in diameter than the root ball. Avoid going too big too fast, as excess soil can retain too much moisture, leading to root rot – a common foe in the aloe world.
The material of the pot also matters. Terracotta pots are excellent for aloe plants because they are porous, allowing for better airflow and preventing the soil from becoming waterlogged. Plastic pots are a cheaper option, but they retain moisture more, so you’ll need to be extra vigilant with your watering. Regardless of your choice, ensure the pot has drainage holes to prevent excess water from accumulating.
Just as important as the pot is the soil. Standard potting mix is often too dense for aloe plants, which prefer a well-draining, sandy soil. A specialized cactus and succulent mix is ideal, or you can create your own by mixing regular potting soil with perlite or coarse sand to improve drainage. This airy mix allows the roots to breathe and helps prevent the dreaded root rot, ensuring proper care and thriving growth.
Preparing Your Aloe for Repotting
Before you dive into aloe repotting, it’s essential to prepare your plant for its transition. This preparation involves a few key steps to minimize stress and ensure a smooth move. First, withhold watering for a few days before repotting. Dry soil is much easier to work with and less likely to compact around the roots during the transfer. This also helps prevent the spread of any potential soilborne diseases and makes it easier to remove the aloe from its current pot.
Next, gently examine the aloe’s roots. If you notice any dead or decaying roots, carefully trim them away using clean, sharp scissors or pruning shears. This encourages healthy new root growth in the fresh soil. Also, take a look at the pot size. If the roots are tightly bound and circling the bottom of the pot, it’s a clear sign that your aloe is rootbound and ready for a larger home. This root-bound condition can restrict growth and prevent proper nutrient uptake, so repotting is essential for the plant’s continued health and vigor.
Finally, gather all your necessary supplies: your new pot with drainage holes, fresh cactus and succulent mix, a trowel or small shovel, gardening gloves (aloe sap can be irritating to some people’s skin), and a watering can. Having everything at hand will make the aloe repotting process smoother and more efficient. With your aloe prepped and your supplies ready, you’re all set for the next step: carefully removing the aloe from its old pot.
Removing the Aloe from Its Current Pot
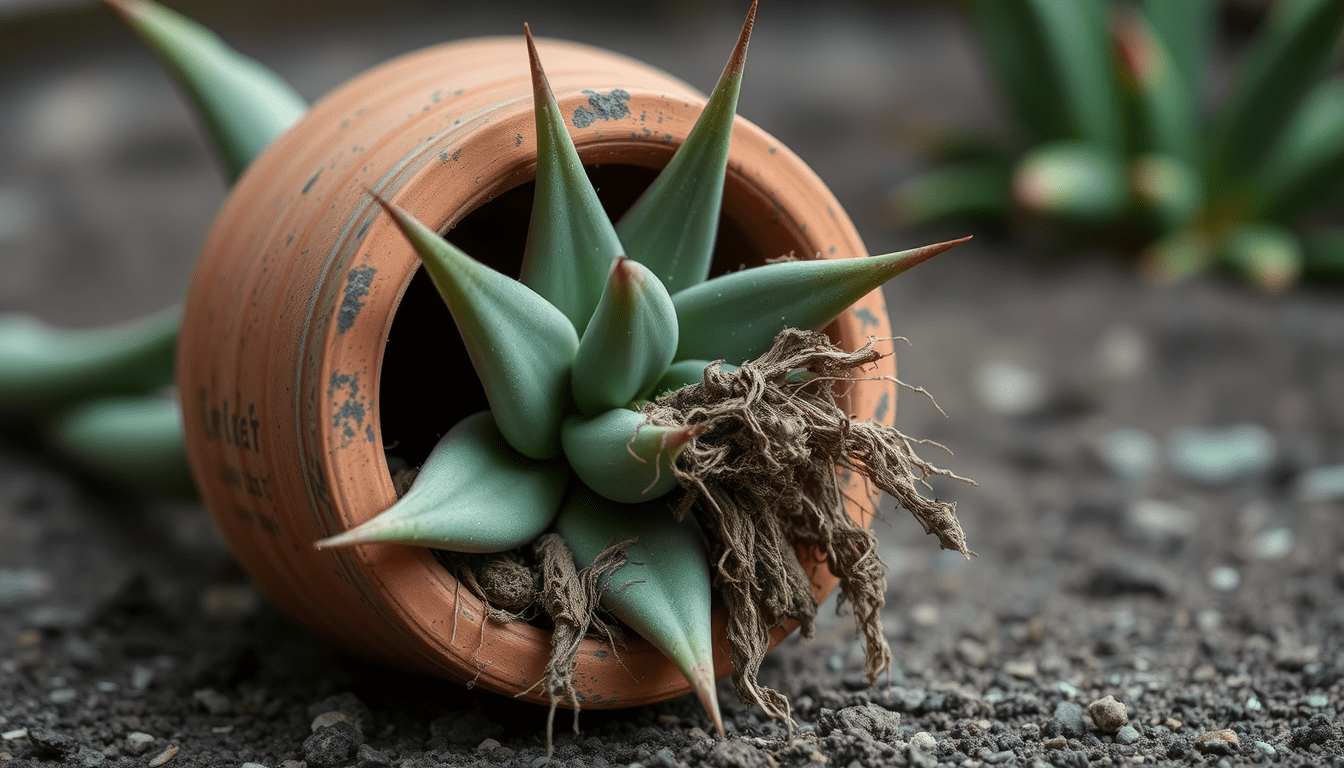
Now for the main event: freeing your aloe from its current confines. This step requires a gentle touch to avoid damaging the plant’s roots or leaves. Begin by gently tilting the pot on its side. If the pot is made of flexible plastic, you can gently squeeze the sides to loosen the soil and encourage the root ball to release. For more rigid pots like terracotta, lightly tapping the sides or bottom can help dislodge the plant. Avoid pulling the aloe by its leaves, as this can damage them. Instead, focus on maneuvering the root ball out of the pot.
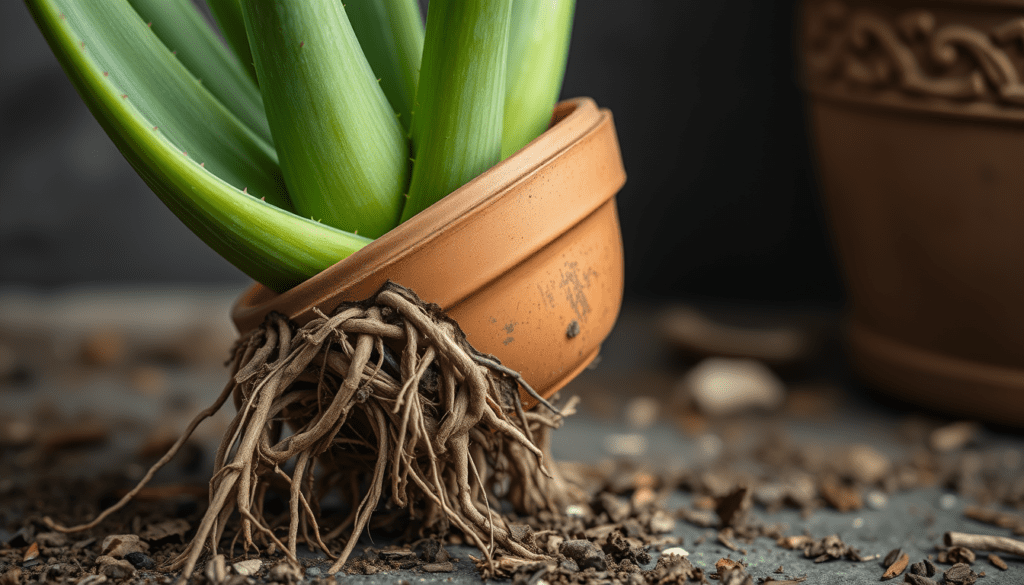
If the aloe is stubbornly stuck, you can try using a trowel or a dull knife to carefully loosen the soil around the edges of the pot. For particularly stubborn cases, you may need to break the old pot to free the plant. Once you’ve managed to loosen the root ball, gently slide the aloe out of the pot, supporting the base of the plant with your hand. With the aloe successfully removed, you have a great opportunity to inspect the roots for any signs of damage or disease before proceeding with the aloe repotting process. This allows you to address any issues and ensure the plant’s continued health in its new home.
After removing the aloe, gently brush away any excess soil from the roots. This is a good time to inspect the roots more closely. If you see any mushy, black, or otherwise unhealthy-looking roots, trim them away with clean, sharp scissors or pruning shears. Healthy roots are typically firm and white or light brown. Removing any damaged roots promotes healthy new growth and prevents the spread of disease. Proper root care during aloe repotting is crucial for the long-term health and vitality of your plant. Now, with the roots inspected and the old soil removed, your aloe is ready for its new pot and fresh soil.
Planting the Aloe in Its New Home
With your aloe successfully extracted from its old home, it’s time to settle it into its new, roomier abode. Begin by adding a layer of fresh cactus and succulent mix to the bottom of the new pot. This layer should be deep enough so that the top of the aloe’s root ball sits just below the rim of the pot. This positioning is crucial for proper watering and prevents the base of the leaves from sitting in damp soil, which can lead to rot. Remember, proper pot size is key during aloe repotting, ensuring ample space for root growth without overwhelming the plant with excess soil.
Center the aloe in the pot and gently backfill the remaining space with more of the soil mix. Ensure the soil fills all the gaps around the roots, providing firm support for the plant. Gently firm the soil around the base of the aloe, but avoid compacting it too much. The soil should be snug but not tightly packed, allowing for proper aeration and water drainage. This careful attention to soil texture and placement during aloe repotting promotes healthy root development and ensures the plant thrives in its new environment.
After planting, withhold watering for a week or two. This allows any damaged roots to heal and callus over, reducing the risk of root rot. When you do water, water deeply until the water drains out of the drainage holes. Then, allow the soil to dry out completely before watering again. Proper watering practices are an essential part of aloe repotting aftercare and contribute significantly to the long-term health and vitality of your aloe plant. With a little care and attention, your aloe will settle happily into its new home and reward you with its vibrant, spiky presence for years to come.
Aftercare and Maintenance
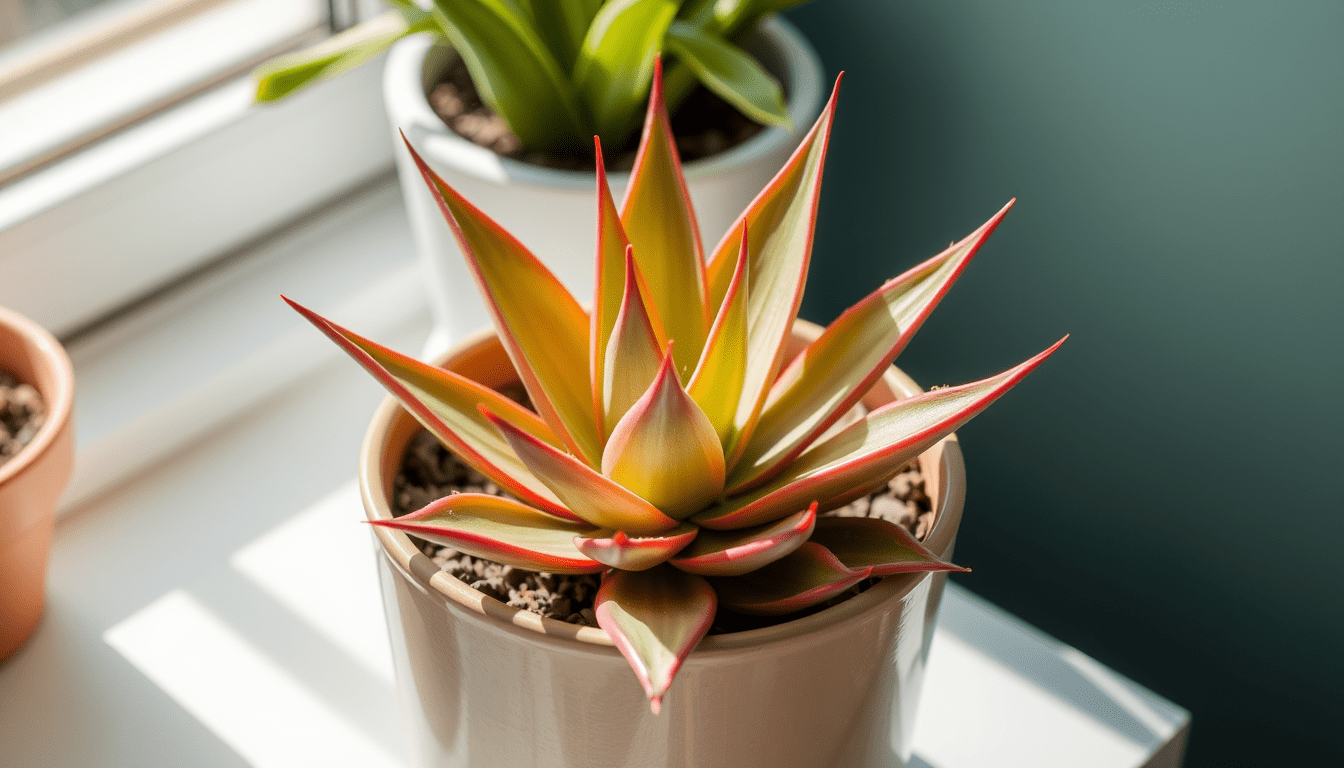
Congratulations! You’ve successfully completed the aloe repotting process. Now, it’s time to focus on aftercare and maintenance to ensure your aloe thrives in its new home. For the first few weeks after repotting, place your aloe in a location with bright, indirect light. Avoid direct sunlight, as this can stress the plant and scorch its leaves, especially while it’s adjusting to its new environment. Gradual acclimation to brighter light is key after aloe repotting.
Watering is crucial, but remember, aloes are succulents and prefer their soil to dry out completely between waterings. Overwatering is a common mistake and can lead to root rot, so err on the side of caution. A good rule of thumb is to stick your finger about an inch into the soil. If it feels dry, it’s time to water. When you do water, water deeply until the water drains out of the drainage holes, ensuring the entire root system gets hydrated. This deep watering encourages healthy root growth, which is especially important after aloe repotting.
As your aloe settles into its new pot and begins to grow, you’ll want to fertilize it occasionally during the growing season (spring and summer). Use a balanced, water-soluble fertilizer diluted to half strength. Avoid fertilizing during the dormant season (fall and winter), as the plant’s growth slows down and it doesn’t require as many nutrients. Proper fertilization, combined with appropriate pot size and soil conditions, contributes significantly to the long-term health and vigor of your aloe. With proper care and attention, your newly repotted aloe will thrive and reward you with its vibrant, healthy presence.
🌿 Discover the Perfect Plants for Your Space! 🌿
Explore our handpicked collection of cycads, aloes, seeds, and more to transform your garden or landscape.


